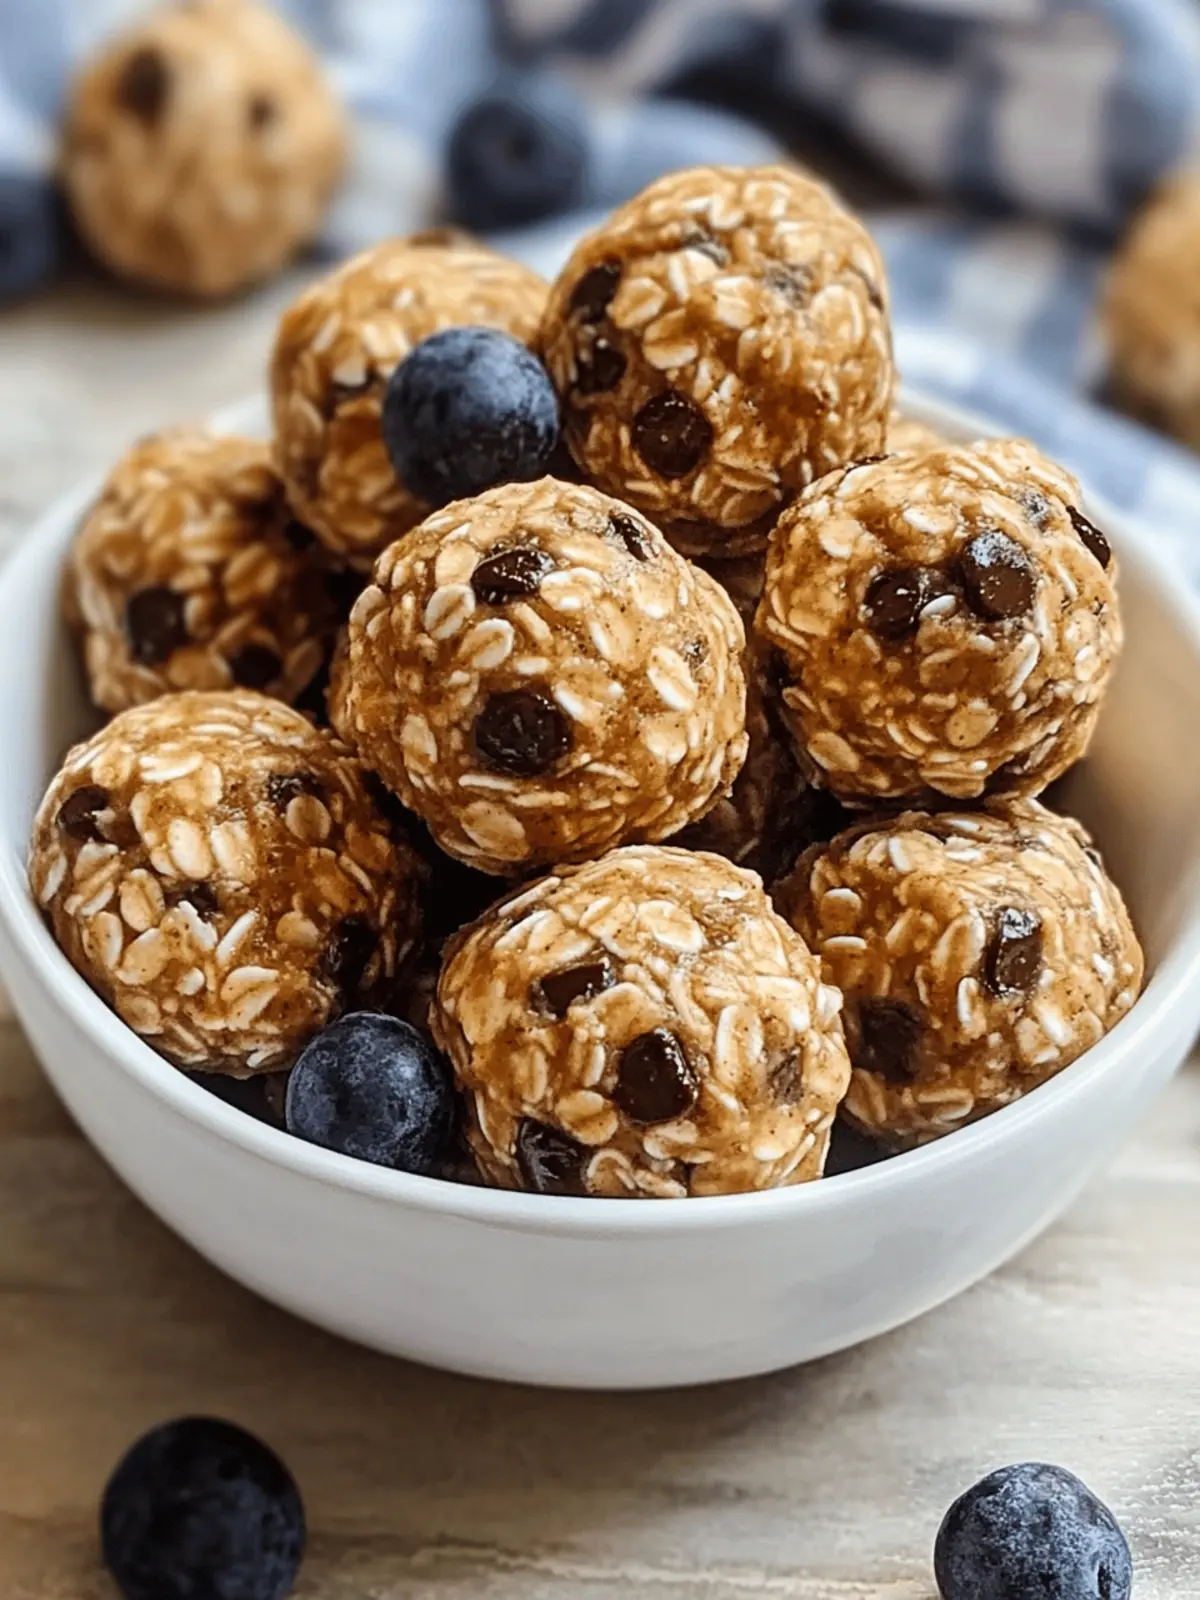
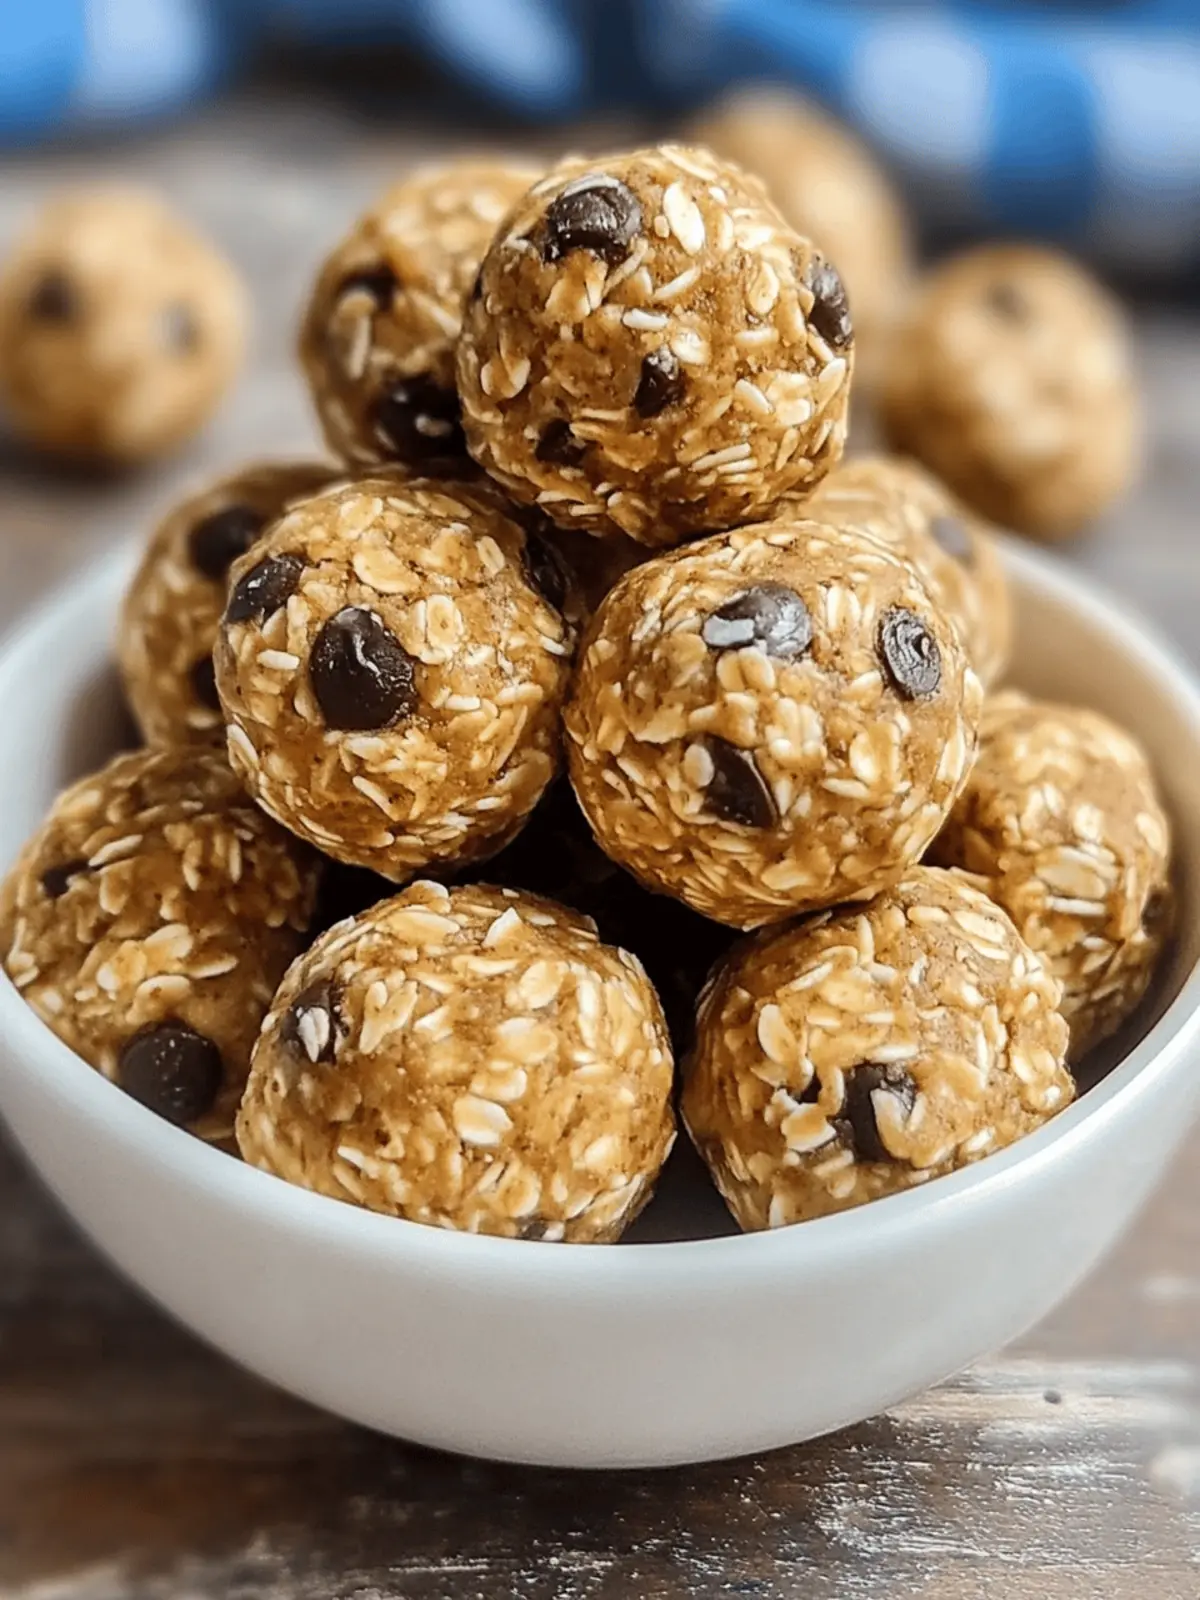
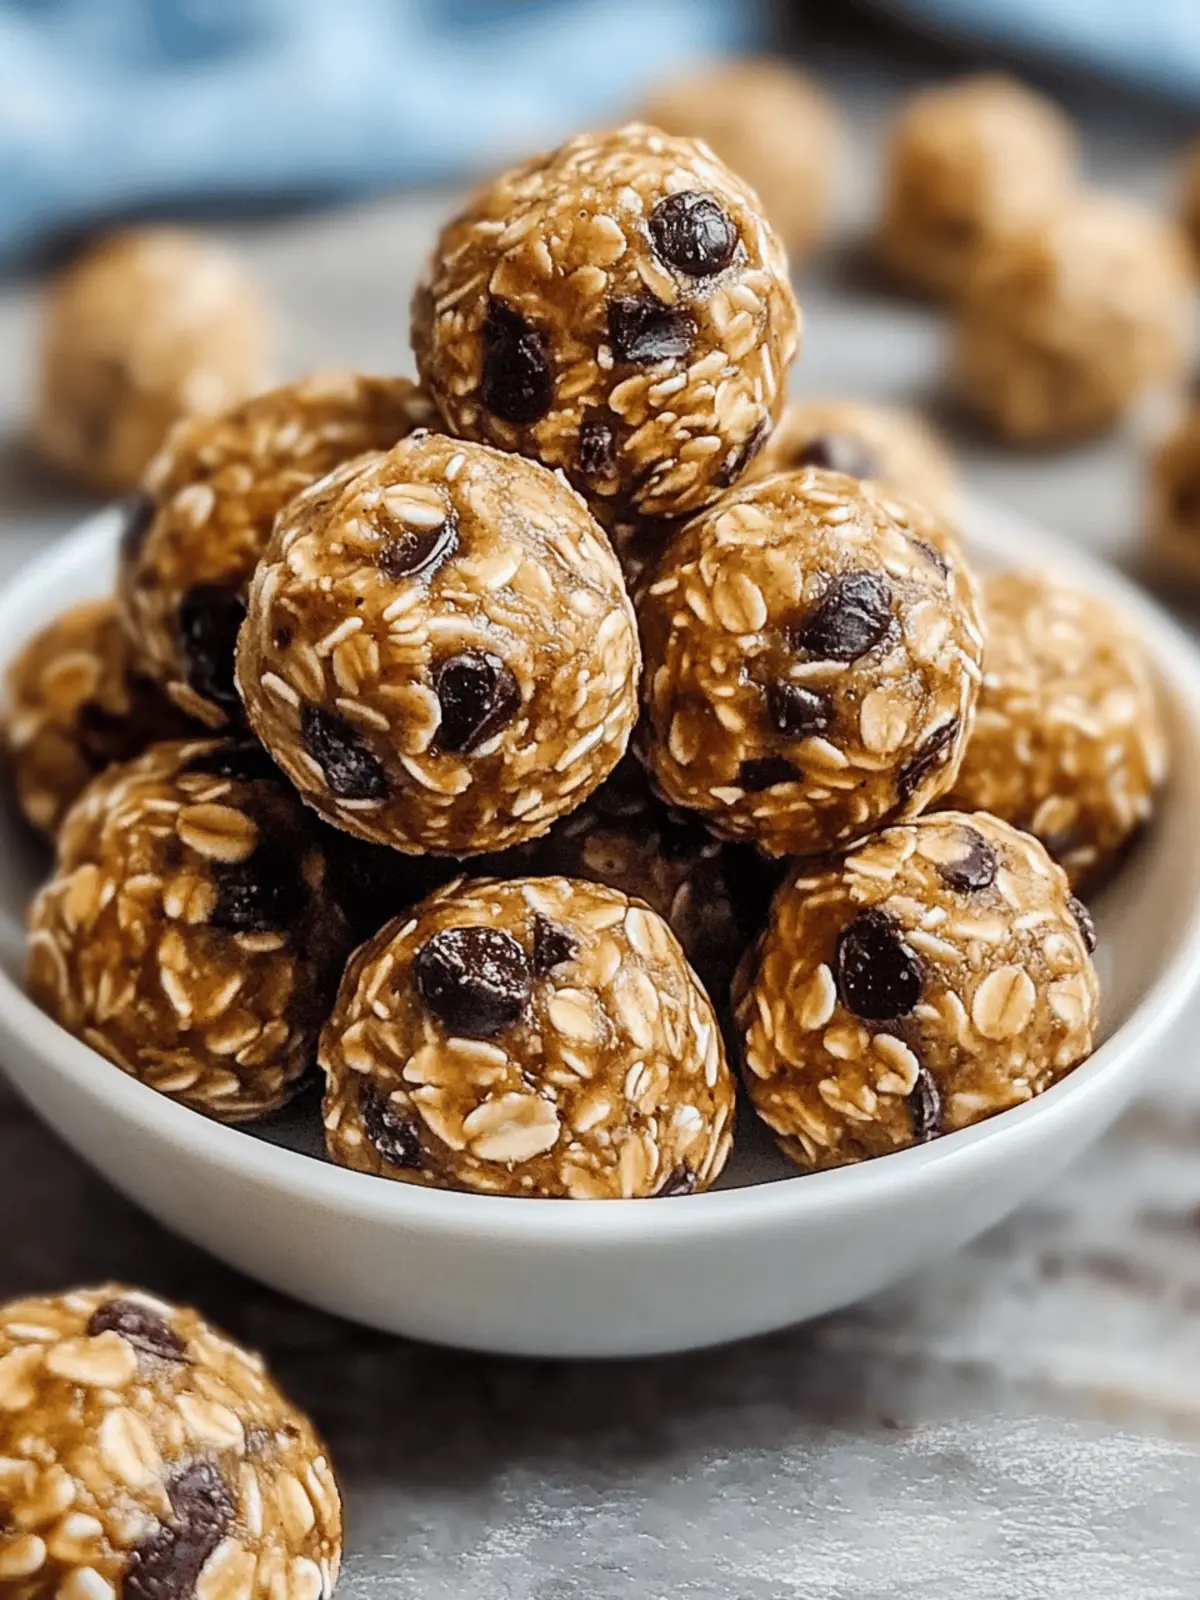
After a particularly hectic day, I found myself rummaging through the pantry, desperately seeking a snack that would satisfy both my cravings and my energy needs. That’s when I stumbled upon a simple yet delightful recipe for No Bake Energy Bites. These little gems bring together the creamy richness of peanut butter, the sweetness of honey, and the heartiness of oats—all in a quick 10-minute prep!
With their chewy texture and indulgent flavor, these energy bites quickly became my go-to snack, whether I’m in need of a morning boost or a post-workout refuel. What I love most is their versatility; you can easily customize them by adding your favorite dried fruits or even a scoop of protein powder. So, if you’ve been searching for an easy, nutritious alternative to fast food, look no further! Let’s dive into this recipe and transform your snacking routine into a healthier, happier experience.
Why are No Bake Energy Bites a must-try?
Quick and Easy: You’ll whip these up in just 10 minutes, no baking required!
Customizable: Add your favorite nuts, fruits, or protein powder for a personalized touch.
Nutritious: Packed with fiber and protein, these bites offer a healthy alternative to processed snacks.
Versatile: Perfect as an after-school snack, breakfast on-the-go, or a pre-workout energy boost.
Crowd-Pleasing: Great for kids and adults alike, making them a hit for any gathering!
These No Bake Energy Bites not only brighten your snack time but also elevate your overall wellness journey.
No Bake Energy Bites Ingredients
• Get ready to create a delicious and nutritious snack!
For the Bites
- Quick Cooking Oats – Provides texture and structure; substitute with rolled oats if unavailable.
- Creamy Peanut Butter – Adds richness and binds ingredients; almond or sunflower butter is a great alternative.
- Honey – Natural sweetener that helps bind the bites; use maple syrup or agave nectar for a vegan option.
- Mini Chocolate Chips – Introduces sweetness and indulgence; opt for dark chocolate or omit for a less sweet version.
- Vanilla Extract – Enhances the overall flavor profile; optional but recommended for extra depth.
For Add-Ins (Optional)
- Dried Fruits – Consider cranberries or raisins for vibrant flavor and additional texture.
- Chopped Nuts – Incorporate almonds or walnuts for a delightful crunch in your No Bake Energy Bites.
- Protein Powder – Boost nutritional benefits by replacing a small portion of oats with protein powder for that extra energy kick.
How to Make No Bake Energy Bites
-
Combine Ingredients: In a large mixing bowl, mix together quick oats, creamy peanut butter, honey, mini chocolate chips, and vanilla extract until fully combined. The mixture should be sticky but hold together nicely.
-
Mix Thoroughly: Grab a sturdy spatula and blend the ingredients well, ensuring every bit of oat and chocolate is incorporated. This will help achieve a consistent flavor in each bite.
-
Form Bites: Using a cookie scoop, create approximately one-inch ball shapes. Place them gently on a parchment-lined baking sheet, spacing them out to avoid sticking together.
-
Store Accordingly: Once all bites are shaped, transfer them into an airtight container. These no bake treats can be refrigerated for up to two weeks or frozen for three months, making them a convenient snack option.
Optional: Drizzle a bit of melted dark chocolate over the bites for an extra sweet touch!
Exact quantities are listed in the recipe card below.
No Bake Energy Bites Variations & Substitutions
Feel free to make these delightful energy bites your own and explore different flavor combinations that tantalize your taste buds!
-
Fruit-Filled: Add ½ cup of dried fruits like cranberries or apricots for a burst of natural sweetness. They not only enhance flavor but also contribute to a chewy texture.
-
Nutty Crunch: Incorporate ¼ cup of chopped nuts such as almonds or walnuts for added crunch. This variation provides a satisfying contrast to the creamy bites.
-
Vegan Swap: Replace honey with maple syrup or agave nectar for a completely plant-based version. This change keeps the bites delicious while catering to vegan diets.
-
Flavor Boost: Stir in ½ teaspoon of ground cinnamon or a pinch of sea salt to amp up the flavor profile. A little spice or salt can remarkably elevate the overall taste!
-
Chocolate Lovers: Use dark chocolate chips or chunks instead of the mini chocolate chips. For an even richer treat, consider swirling in melted dark chocolate before rolling.
-
Protein-Packed: Add a scoop of your favorite protein powder, reducing oats by a quarter cup. This twist transforms your bites into a powerful post-workout snack!
-
Coconut Bliss: Mix in ¼ cup of shredded coconut, either sweetened or unsweetened, for a tropical flair. The coconut adds a delightful chewiness and a hint of richness.
-
Spice it Up: Add a teaspoon of cayenne pepper or chili powder for a surprising kick! This hot twist creates a flavor explosion that beautifully contrasts with the sweetness.
Each of these variations is an opportunity to express your culinary creativity while keeping these treats utterly delicious! Enjoy customizing your No Bake Energy Bites to make every batch uniquely yours.
Expert Tips for No Bake Energy Bites
- Adjust Consistency: If the mixture feels too sticky, add more oats or a splash of water to create the perfect texture.
- Cooling Time: For the best shape, let the energy bites rest in the fridge for about 30 minutes before serving.
- Tight Rolling: Ensure you roll the bites tightly to help them hold together during storage and snacking.
- Variation Ideas: Feel free to explore different add-ins like dried fruits or nuts to customize your No Bake Energy Bites to your taste!
- Storage Tips: Keep them in an airtight container in the fridge for up to two weeks, or freeze them with parchment paper for three months of freshness.
How to Store and Freeze No Bake Energy Bites
- Fridge: Store your No Bake Energy Bites in an airtight container in the fridge for up to 2 weeks. This helps maintain their freshness and chewy texture.
- Freezer: For longer storage, freeze the bites for up to 3 months. Place them in a single layer with parchment paper between them to prevent sticking.
- Thawing: When ready to enjoy, simply take them out of the freezer and allow them to thaw at room temperature for about 15 minutes.
- Reheating: No need to reheat; these bites are delicious straight from the fridge or freezer, making them a convenient snack anytime!
What to Serve with No Bake Energy Bites?
These delightful snacks can be paired with a variety of sides to satisfy your cravings and complete a wholesome meal.
-
Fresh Fruit Platter: A mix of juicy berries and crisp apples offers a refreshing contrast to the chewy energy bites.
-
Greek Yogurt: Creamy and tangy yogurt not only adds protein but also works as a delicious dipping sauce for added richness.
-
Nutty Granola: Crunchy granola enhances the texture and balances the softness of the energy bites, making every bite a treat.
-
Smoothie: Pair with a fruit smoothie for a nutritious breakfast on-the-go. The balance of flavors keeps your taste buds dancing.
-
Nut Butter Dip: Serve these bites with a side of almond or cashew butter for those who crave an extra nutty flavor.
-
Herbal Tea: A warm cup of chamomile or peppermint tea provides serenity and soothing warmth, perfect for an afternoon snack.
-
Dark Chocolate Squares: Indulge your sweet tooth with a few squares of dark chocolate alongside; it’s a match made in heaven.
Feel free to mix and match these pairings to create a delightful snack experience that caters to your taste!
Make Ahead Options
These No Bake Energy Bites are perfect for meal prep enthusiasts! You can combine the dry ingredients—quick oats, mini chocolate chips, and any add-ins like dried fruits or nuts—up to 24 hours ahead of time. Simply store the dry mixture in an airtight container at room temperature. When you’re ready to enjoy these nutritious bites, just mix in the peanut butter, honey, and vanilla extract, roll them into balls, and refrigerate for immediate snacking. For added convenience, you can even form the bites and refrigerate them for up to 3 days before serving. This way, you’ll have delicious, homemade snacks ready to brighten your busy week!
No Bake Energy Bites Recipe FAQs
What type of oats should I use for No Bake Energy Bites?
You should use quick cooking oats as they provide the perfect texture and structure for these bites. If you can’t find them, rolled oats will work as a substitute, but the texture might be slightly chewier.
How should I store No Bake Energy Bites and how long do they last?
Store your No Bake Energy Bites in an airtight container in the fridge for up to 2 weeks. This helps keep them fresh and chewy. If you’re making a larger batch, you can store them in the freezer for up to 3 months. Just be sure to separate them with parchment paper to prevent sticking!
Can I freeze No Bake Energy Bites, and what is the best way to do it?
Absolutely! To freeze No Bake Energy Bites, arrange them in a single layer on a parchment-lined baking sheet and place them in the freezer until solid. Once frozen, transfer them to an airtight container with layers of parchment paper in between. This prevents them from sticking together, and they can last for up to 3 months in the freezer.
What should I do if my mixture is too sticky?
If your mixture is too sticky, it’s an easy fix! Simply add more oats, one tablespoon at a time, until you reach the right consistency. Alternatively, you can mix in a small splash of water to help bind the ingredients without compromising the texture. Just remember to mix thoroughly until all ingredients are well incorporated.
Are No Bake Energy Bites safe for people with nut allergies?
While these bites contain peanut butter in the traditional recipe, you can easily make them allergen-friendly. You can substitute peanut butter with sunbutter or almond butter, based on what’s safe for the individual’s allergies. Always check ingredient labels and adjust flavors to keep them delicious and safe for everyone!
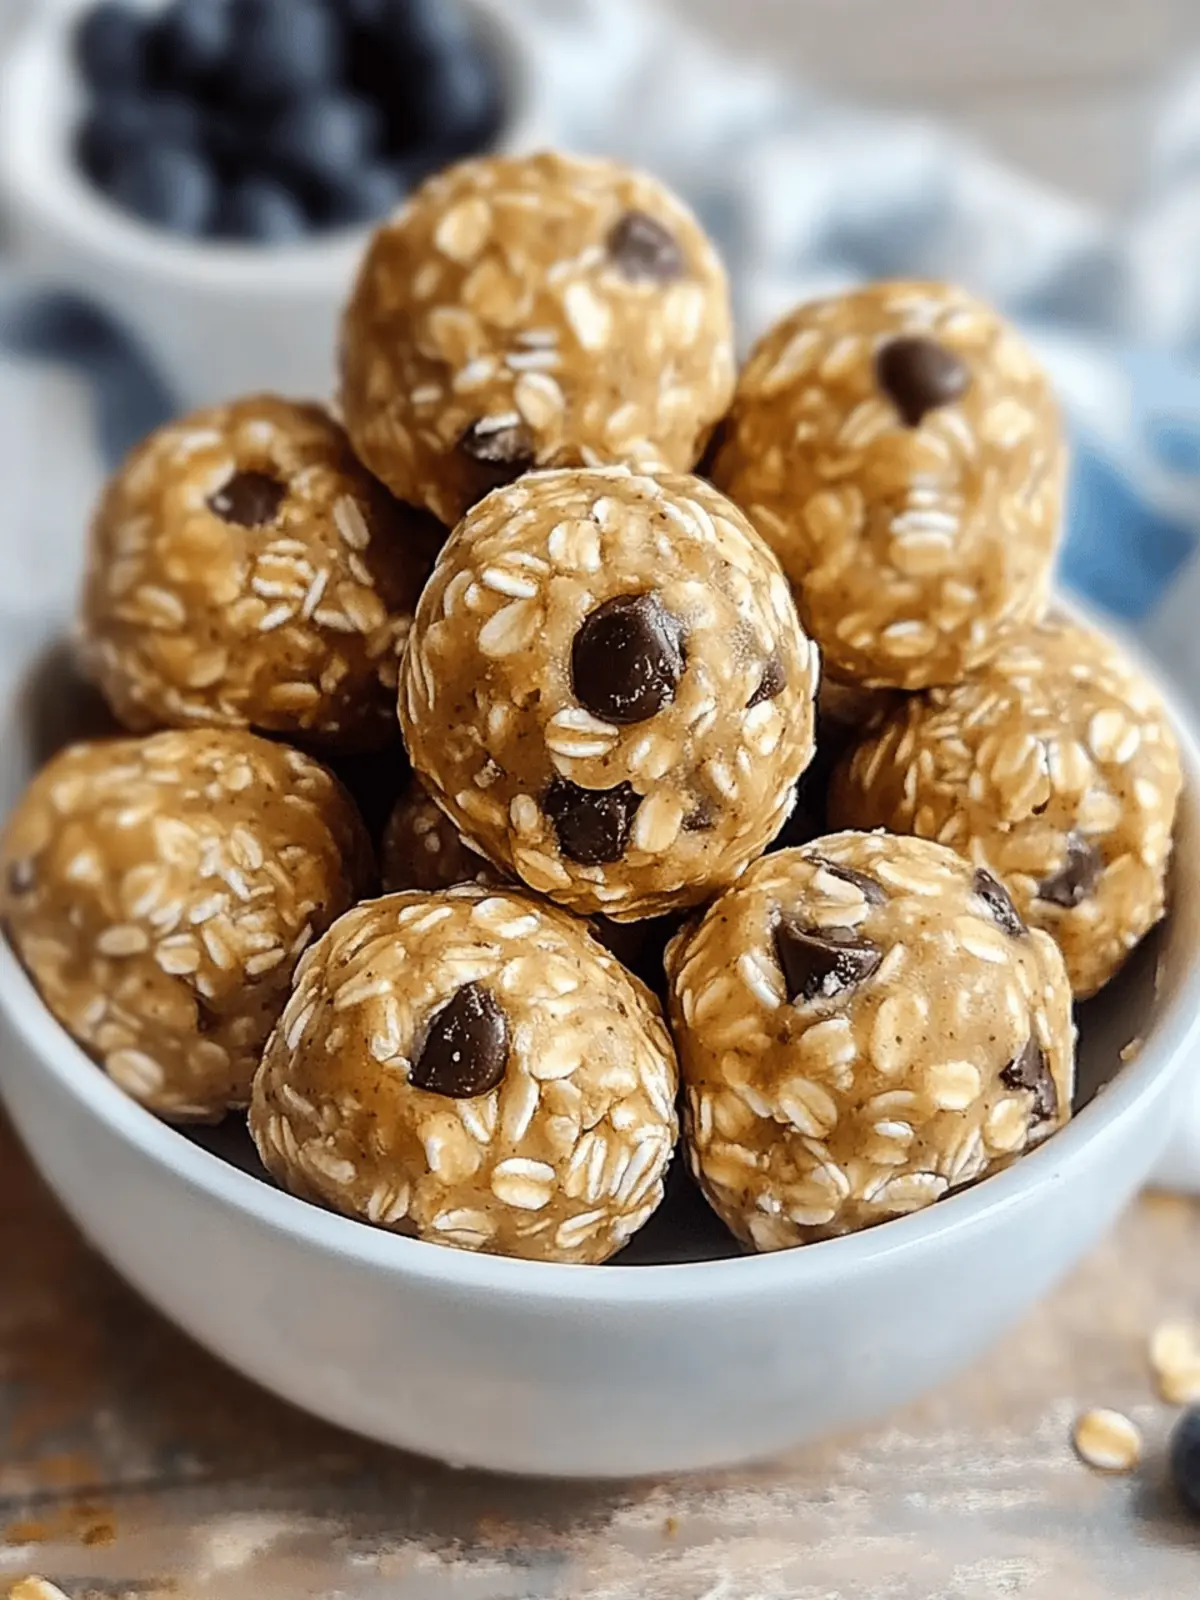
No Bake Energy Bites: Your Quick & Healthy Snack Solution
Ingredients
Equipment
Method
- In a large mixing bowl, mix together quick oats, creamy peanut butter, honey, mini chocolate chips, and vanilla extract until fully combined.
- Grab a sturdy spatula and blend the ingredients well, ensuring every bit of oat and chocolate is incorporated.
- Using a cookie scoop, create approximately one-inch ball shapes and place them on a parchment-lined baking sheet.
- Transfer the shaped bites into an airtight container. They can be refrigerated for up to two weeks or frozen for three months.
