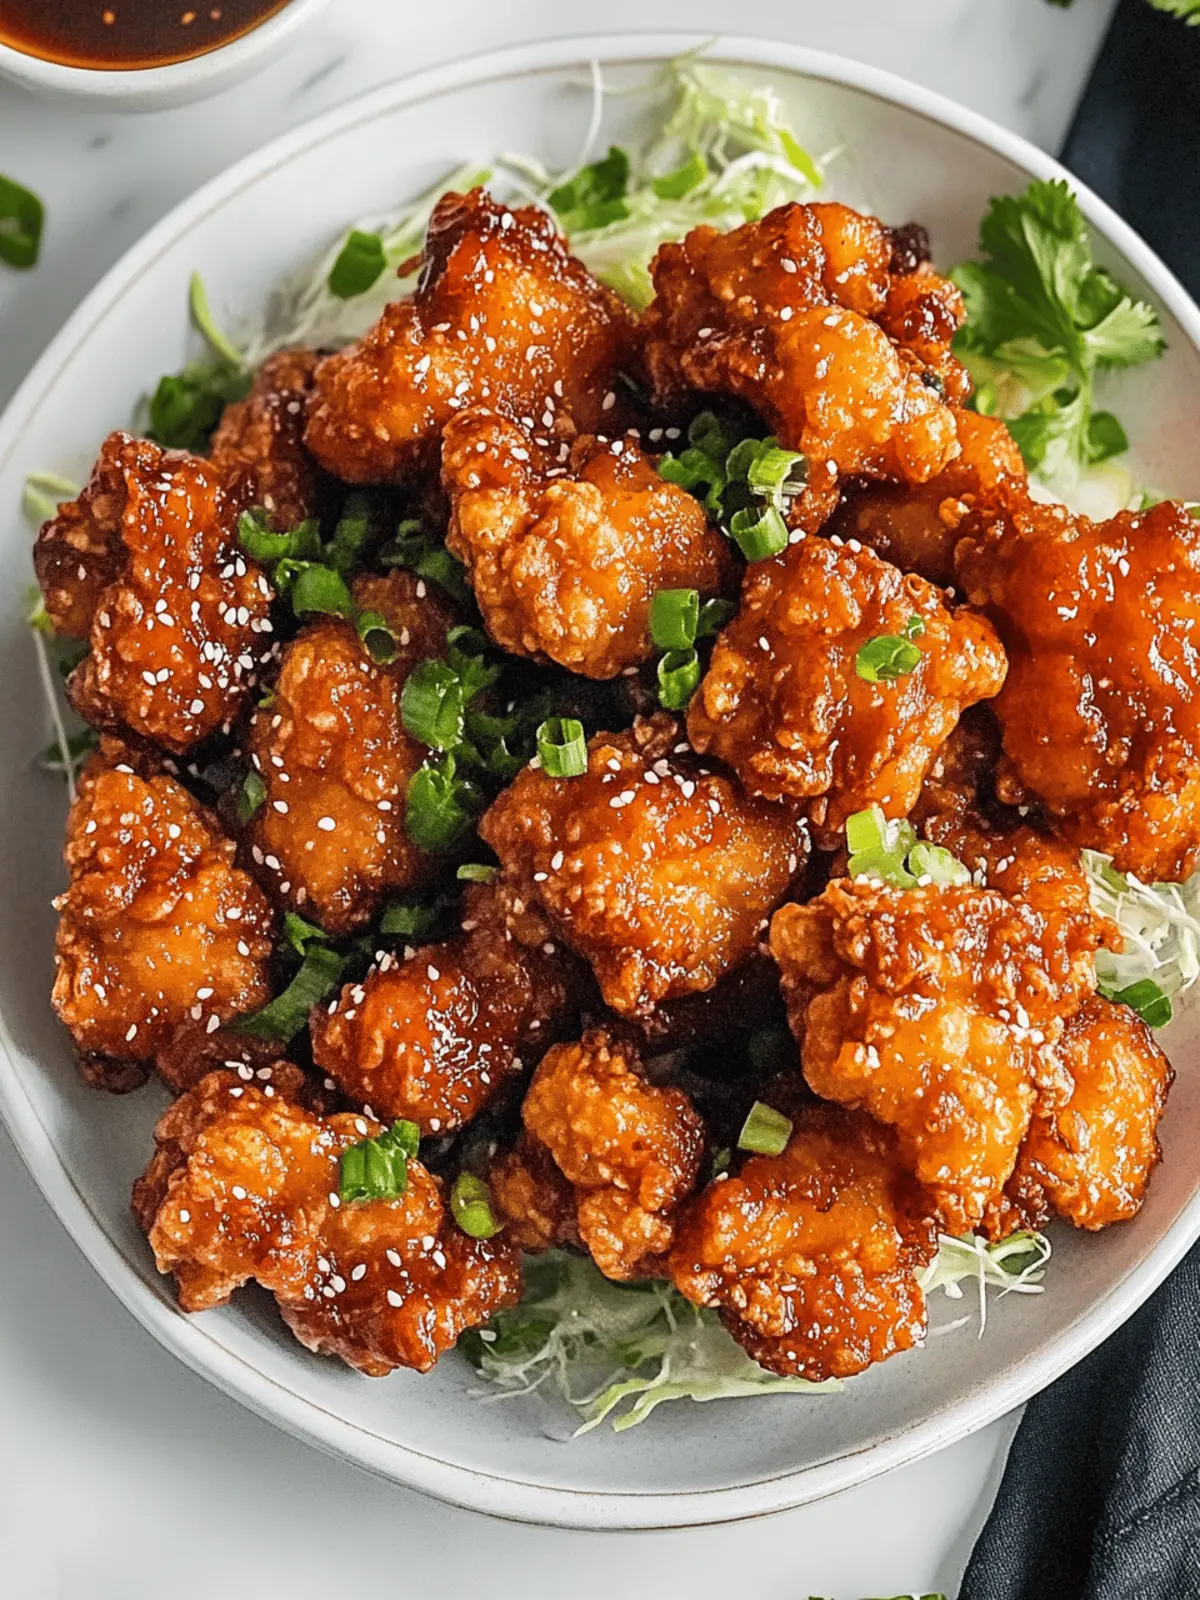
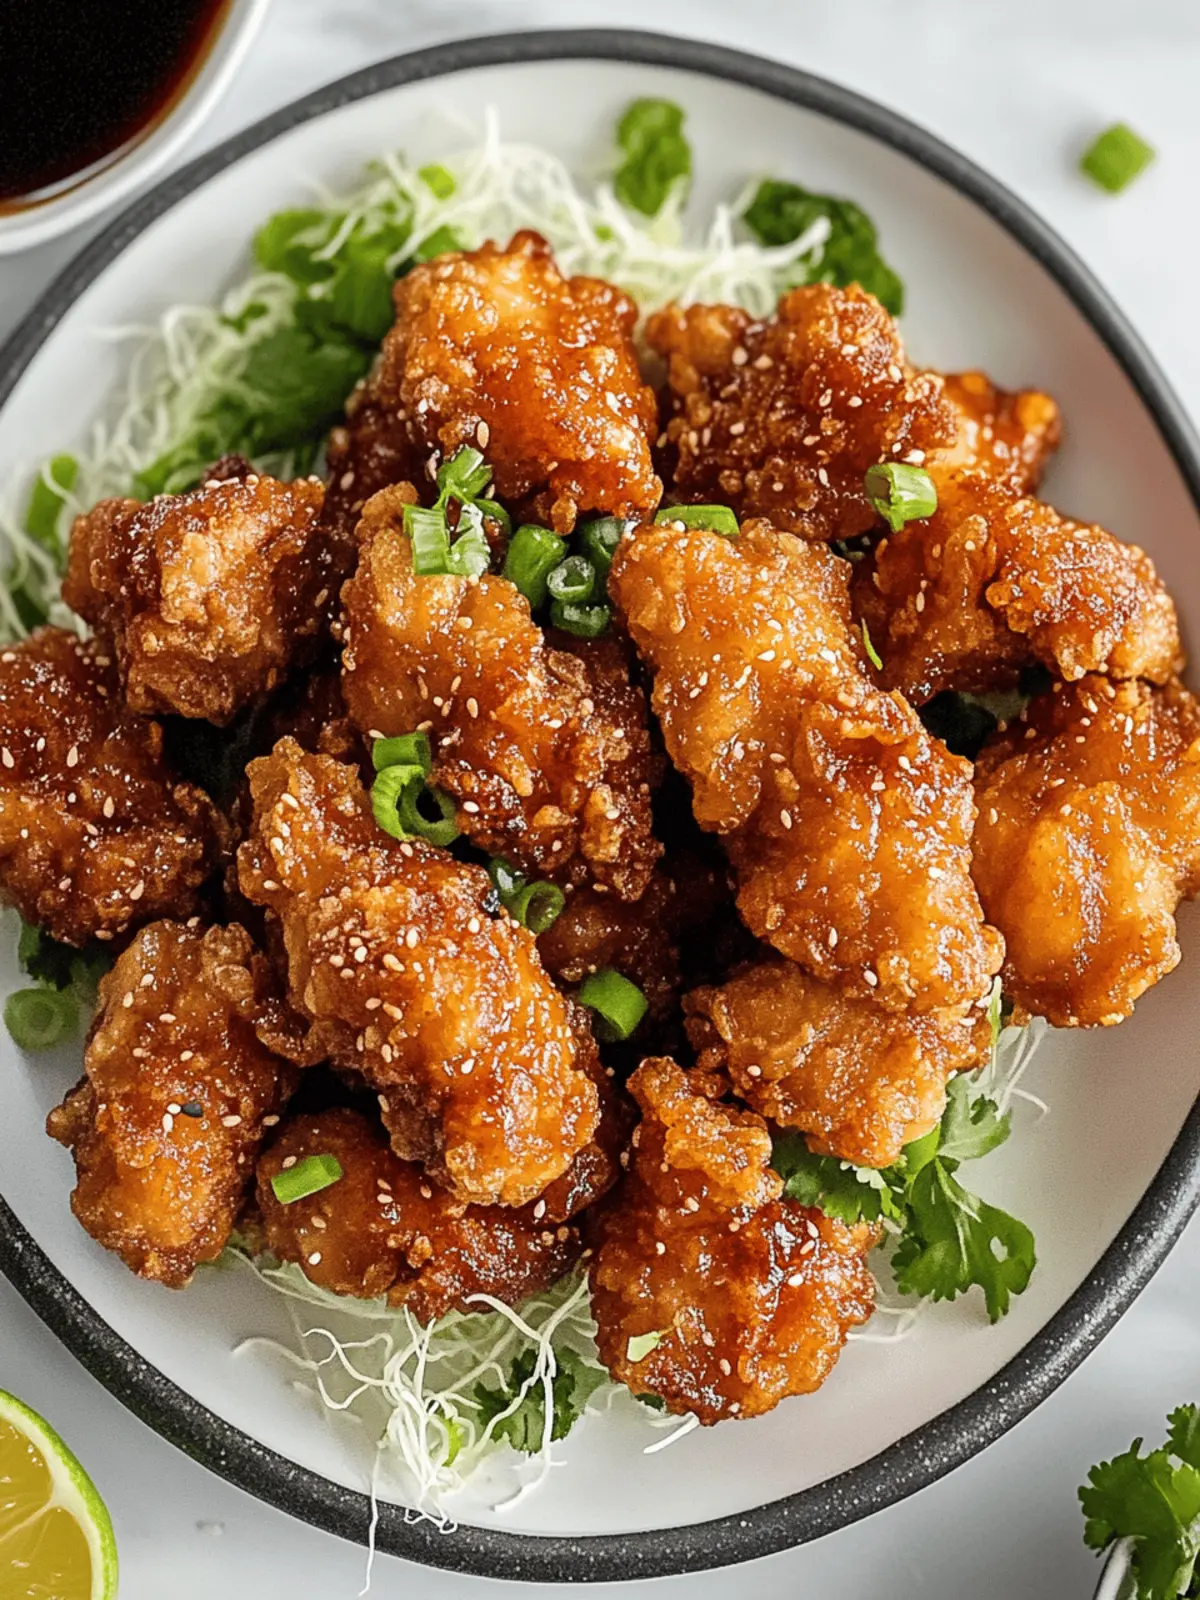
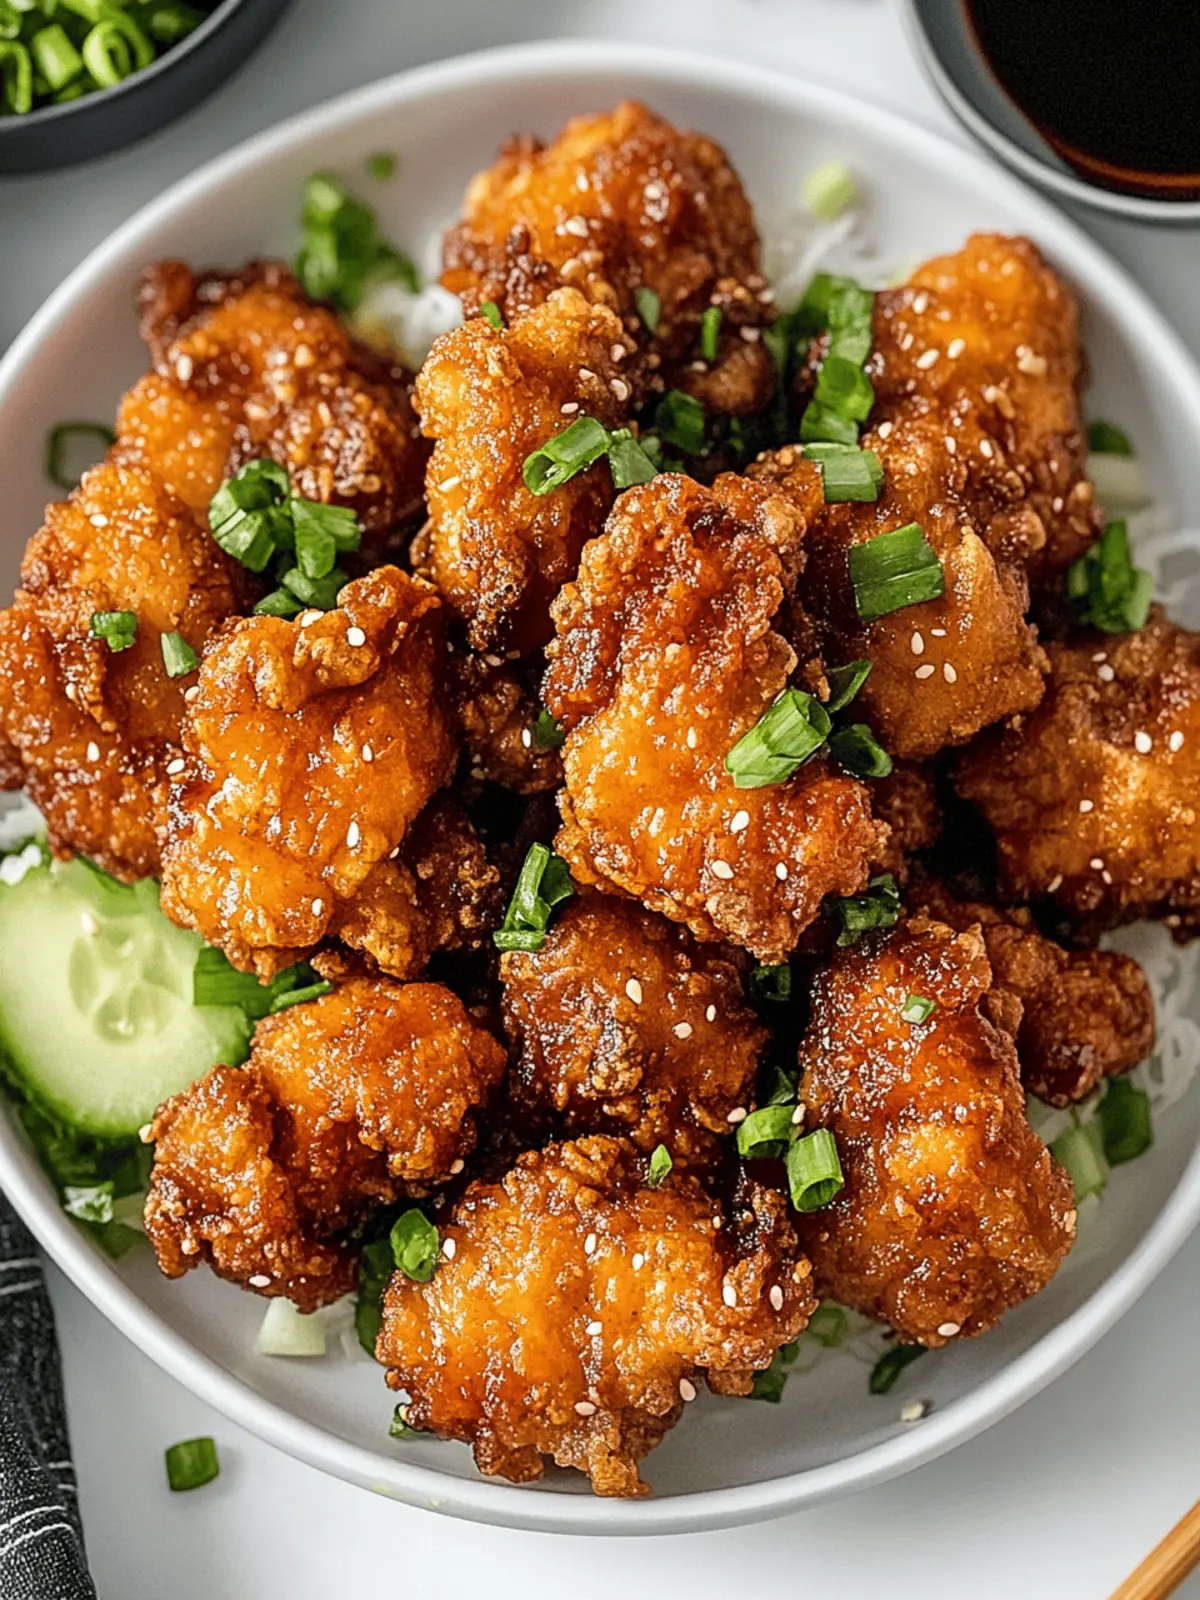
If you’ve ever been captivated by the enticing aroma of a bustling Japanese street market, you know the feeling. The moment I first tasted Karaage Chicken, with its perfectly crisp coating and juicy interior, changed my approach to comfort food forever. This beloved dish is more than just fried chicken; it’s a celebration of umami flavor, achieving a delightful crunch that beckons you for just one more bite.
Perfectly suited for both weeknight dinners and festive gatherings, Karaage Chicken has swiftly earned its place in my recipe repertoire. The best part? It’s incredibly easy to whip up! With simple ingredients and a few straightforward steps, this dish transforms ordinary chicken into a flavor-packed masterpiece. Get ready to impress friends and family with a homemade treat that rivals any restaurant version.
Join me as we embark on this culinary adventure to create your very own Crispy Japanese Karaage Chicken with Umami Marinade—a recipe that guarantees perfection with every savory kick!
Why is this Karaage Chicken Recipe a must-try?
Flavor Explosion: The marinade, soaked in umami and spices, makes every bite unforgettable.
Crispy Delight: Double-frying achieves that perfect crunch your taste buds crave.
Quick to Prepare: With just a few ingredients, enjoy restaurant-quality chicken at home.
Great for Sharing: Perfect at gatherings, everyone will applaud your cooking skills!
Versatile Dish: Serve it on its own, or with salads and sauces for a full meal experience.
This Karaage Chicken Recipe brings irresistible taste and texture to your table, turning every meal into a delightful experience!
Karaage Chicken Ingredients
For the Marinade
• Cooking Sake – Adds depth and complexity to the marinade; substitute with dry sherry if unavailable.
• Soy Sauce – Provides saltiness and umami flavor; use low-sodium soy sauce for a healthier option.
• Freshly Grated Ginger – Offers a spicy and aromatic quality in the marinade; powdered ginger can be used in a pinch, but fresh is preferable.
• Mirin – Provides sweetness and balance to the marinade; substitute with a mix of sugar and water if not available.
For the Chicken
• Chicken Thigh Fillets – Juicy and tender, perfect for frying; chicken breast can be used, but thighs are recommended for moisture.
• Corn Flour/Cornstarch – Creates a crisp coating; use potato starch as a gluten-free alternative.
For Frying
• Vegetable Oil – Essential for deep frying to achieve the desired crispiness; high smoke point oils like canola or peanut oil work best.
For Garnishing
• Sprigs of Parsley – Optional garnish to elevate your dish’s presentation.
• Shredded Lettuce/Cabbage – Adds a fresh element and serves as a delightful bed for the chicken.
This Karaage Chicken recipe is a simple yet tantalizing way to bring a bit of Japanese flair to your home-cooked meals!
How to Make Karaage Chicken
-
Dry the Chicken: Pat your chicken thighs dry with paper towels to ensure they fry beautifully without steam, which means crispiness is your new best friend.
-
Mix the Marinade: Combine the chicken with cooking sake, soy sauce, freshly grated ginger, and mirin in a ziplock bag or bowl. Mix well, ensuring each piece is coated evenly.
-
Marinate the Chicken: Allow the chicken to marinate for 30 minutes to 1 hour. This step is key to soaking up all those delicious umami flavors.
-
Heat the Oil: In a deep pot, heat vegetable oil to 160°C/320°F. Aim for an oil depth of about 3-4 cm—this helps create that wonderful fry.
-
Prepare the Chicken: Drain excess marinade from the chicken and pat the pieces dry with paper towels. This helps the coating stick better for that perfect crunch.
-
Coat the Chicken: Thoroughly coat each piece of chicken in corn flour or cornstarch. This is where you’ll begin to see that crispy exterior form!
-
Fry the Chicken (First Fry): In batches, fry the chicken for 2.5-3 minutes. Gently move the chicken around occasionally to prevent sticking and ensure an even fry.
-
Rest the Chicken: Carefully remove the chicken and let it rest on paper towels for 3-4 minutes to absorb extra oil. This ensures that crispiness stays intact.
-
Fry the Chicken (Second Fry): Increase oil temperature to 190-200°C/374-392°F. Skim off any crumbs, then fry the chicken again for an additional 30 seconds to 1 minute until gloriously golden and crispy.
-
Serve and Garnish: Serve the Karaage Chicken immediately, garnished with fresh parsley and a bed of shredded lettuce or cabbage for that delightful crunch.
Optional: Drizzle with your favorite dipping sauce for an extra flavor boost!
Exact quantities are listed in the recipe card below.
How to Store and Freeze Karaage Chicken
Fridge: Store leftover Karaage Chicken in an airtight container for up to 3 days. This keeps the chicken fresh and ready to reheat.
Freezer: For longer storage, freeze the cooked chicken in a single layer on a baking sheet before transferring to a freezer-safe bag. It can last up to 2 months.
Reheating: To restore the crispy texture, reheat in the oven at 180°C/350°F for about 10-15 minutes or until hot. Avoid the microwave to prevent sogginess.
Make Ahead Options
Karaage Chicken is a fantastic option for meal prep enthusiasts looking to save time during busy weeks! You can marinate the chicken for up to 24 hours in advance, enhancing the umami flavor while maintaining its juiciness. Simply follow the marination steps and refrigerate in an airtight container. The corn flour coating can also be pre-prepared; just place it in a separate container. When it’s time to cook, remove the chicken from the marinade and pat it dry to avoid excess moisture. Coat the chicken and fry it fresh for that desired crispiness, ensuring restaurant-quality results with minimal effort!
Expert Tips for Karaage Chicken
• Oil Temperature: Keep the oil at the right temperature throughout frying. If it’s too low, your chicken will absorb oil, becoming greasy instead of crispy.
• Dry Chicken: Always pat your chicken dry before marinating and frying. Removing moisture allows for better marinade absorption and a crunchier exterior in your Karaage Chicken.
• Batch Frying: Avoid overcrowding the pot while frying. This helps maintain oil temperature, ensuring each piece fries evenly, resulting in that coveted crispy texture.
• Double Frying: Don’t skip the second fry! It’s essential for achieving a gold standard of crispness. The second fry is where the magic happens, making your chicken even more irresistible.
• Marination Time: Let the chicken marinate longer if possible, even up to 1 hour. This extra time enhances the umami flavor, ensuring every bite is packed with deliciousness.
Enjoy perfecting your Karaage Chicken recipe with these tips, and watch as it becomes your new family favorite!
Karaage Chicken Variations
Feel free to let your creativity shine and customize your Karaage Chicken experience!
-
Spicy Kick: Add chili paste or sriracha to the marinade for some heat; it enhances the overall flavor profile beautifully.
-
Gluten-Free Option: Use gluten-free soy sauce and potato starch for coating; you can enjoy delicious karaage without worries!
-
Herb Infusion: Incorporate fresh herbs like thyme or rosemary in the marinade for a fragrant twist; it adds a fresh complexity.
-
Citrus Zing: A splash of yuzu juice or fresh lemon in the marinade brightens the umami flavor; it’s refreshing and invigorating.
-
Sweet & Savory: Mix in a tablespoon of honey or maple syrup to the marinade for a delightful sweetness that complements the savory!
-
Nutty Flavor: Swap some of the marinade’s oil for sesame oil; this gives your Karaage a toasty aroma and flavor that’s simply irresistible.
-
Asian Flare: Try adding five-spice powder in the marinade for a unique flavor twist, bringing depth and warmth to your chicken.
-
Crunchy Coating: For extra texture, combine panko breadcrumbs with your corn flour before coating the chicken; this results in an unbelievably crispy exterior.
With these variations, your Karaage Chicken will become a new family favorite, bursting with flavors that each plate can uniquely possess!
What to Serve with Karaage Chicken?
Elevate your homemade Karaage Chicken experience with delightful sides that enhance its savory flavor and crispy texture.
-
Cucumber Radish Salad: A refreshing, crunchy salad that adds a light and tangy contrast to the rich umami of the chicken. The crispness pairs beautifully with the fried bites, balancing each mouthful.
-
Steamed Jasmine Rice: This aromatic rice serves as a perfect canvas, soaking up the delicious juices from the crispy chicken. It’s the ultimate comfort dish that complements with warmth and simplicity.
-
Miso Soup: A soothing bowl of miso soup adds warmth and richness to your meal, while its umami notes harmonize with the chicken’s flavors. Each sip will wrap you in a comforting embrace.
-
Spicy Mayo Dipping Sauce: A creamy, zesty dipping sauce that elevates the flavor profile of fried chicken with a hint of heat. It’s the perfect accompaniment for those who like a little kick!
-
Shredded Cabbage Slaw: This vibrant slaw brings a necessary crunch and fresh element to the plate. Tossed with sesame dressing, it brings out the best in Karaage Chicken while adding color.
-
Green Tea: Start your meal with a warm cup of green tea to cleanse your palate. Its earthy notes perfectly balance the dish’s richness, highlighting the umami flavors of the chicken.
Karaage Chicken Recipe FAQs
How do I choose ripe and fresh ingredients for my Karaage Chicken?
Absolutely! Use chicken thighs that are moist and tender, ideally with a good pink color and minimal dark spots. When selecting ingredients like ginger, look for firm roots without wrinkles or soft spots, as they’ll pack the most flavor. For the best soy sauce, opt for a freshly opened bottle to ensure optimal taste.
What’s the best way to store leftover Karaage Chicken?
Store leftover Karaage Chicken in an airtight container in the fridge for up to 3 days. For the crispiest results, reheat it in the oven at 180°C/350°F for about 10-15 minutes, so it warms through without losing that delightful crunch.
Can I freeze the Karaage Chicken? If so, how?
Absolutely! To freeze your delicious Karaage Chicken, first let it cool completely. Lay the pieces in a single layer on a baking sheet and freeze for about 1 hour. Then, transfer the chicken to a freezer-safe bag, squeezing out as much air as possible and labeling it with the date. It can be frozen for up to 2 months. When you’re ready to enjoy it again, reheat directly from frozen in the oven!
What if my Karaage Chicken comes out soggy instead of crispy?
Very often, sogginess arises from a few common culprits. Make sure you always pat your chicken dry before marinating and frying. Additionally, maintaining the oil temperature is crucial; if it’s too low, the chicken will absorb more oil. Frying in smaller batches can also help achieve that desired crispy texture, so avoid overcrowding the pot!
Is this recipe suitable for individuals with dietary restrictions?
Certainly! For those with gluten sensitivities, swap the corn flour with potato starch for an equally crispy exterior. If you’re preparing this dish for children or pets, ensure no added spices that may pose a risk, such as garlic or onion, are included. Always double-check for any soy allergies when using soy sauce, and consider a gluten-free version if necessary.
Can I use chicken breast instead of thighs, and will it affect the outcome?
You can use chicken breast if you prefer, but the chicken thighs are highly recommended for their moisture and flavor. If using breast, be cautious not to overcook, as they can dry out quickly. Consider marinating them for a bit longer for additional moisture retention; just make sure the marinade does not contain any ingredients your diners may be allergic to.

Karaage Chicken Recipe Brings Flavorful Perfection to Your Table
Ingredients
Equipment
Method
- Dry the Chicken: Pat your chicken thighs dry with paper towels to ensure they fry beautifully without steam.
- Mix the Marinade: Combine the chicken with cooking sake, soy sauce, freshly grated ginger, and mirin in a ziplock bag or bowl. Mix well.
- Marinate the Chicken: Allow the chicken to marinate for 30 minutes to 1 hour.
- Heat the Oil: In a deep pot, heat vegetable oil to 160°C/320°F.
- Prepare the Chicken: Drain excess marinade from the chicken and pat the pieces dry with paper towels.
- Coat the Chicken: Thoroughly coat each piece of chicken in corn flour or cornstarch.
- Fry the Chicken (First Fry): In batches, fry the chicken for 2.5-3 minutes.
- Rest the Chicken: Carefully remove the chicken and let it rest on paper towels for 3-4 minutes.
- Fry the Chicken (Second Fry): Increase oil temperature to 190-200°C/374-392°F and fry again for 30 seconds to 1 minute.
- Serve and Garnish: Serve the Karaage Chicken immediately, garnished with fresh parsley and a bed of shredded lettuce or cabbage.


