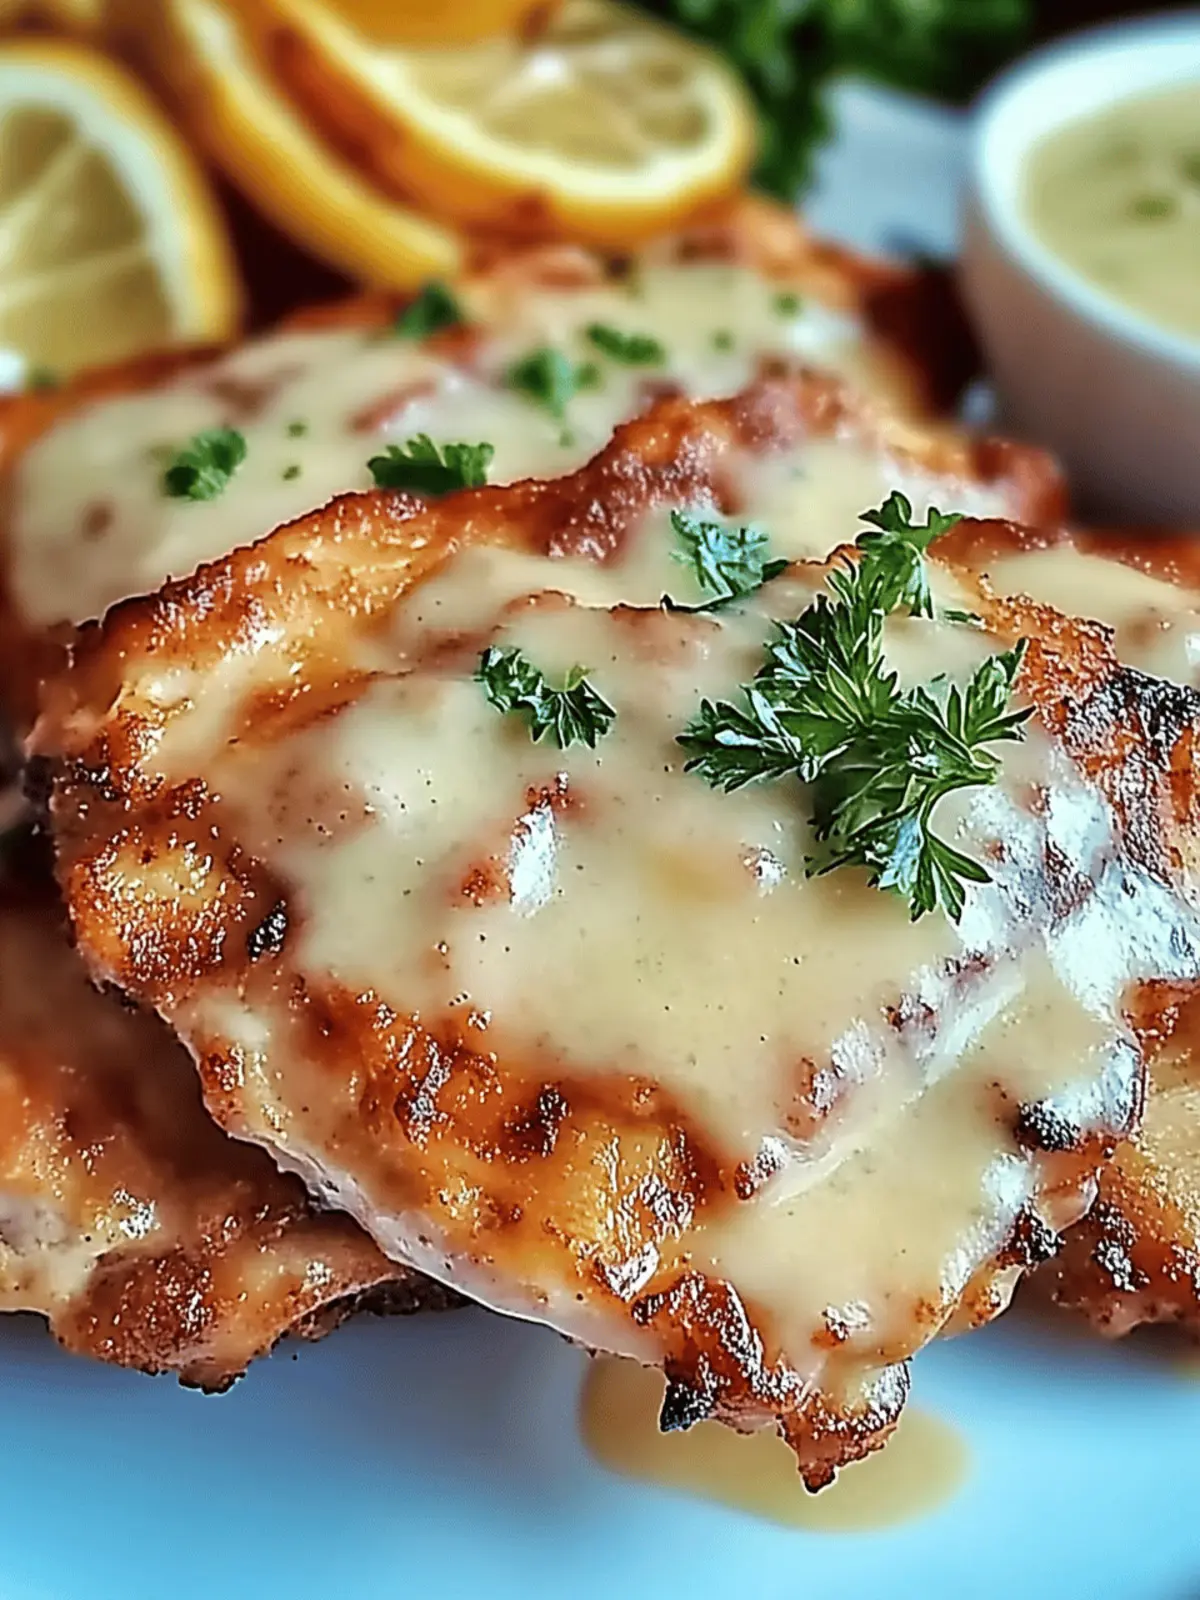
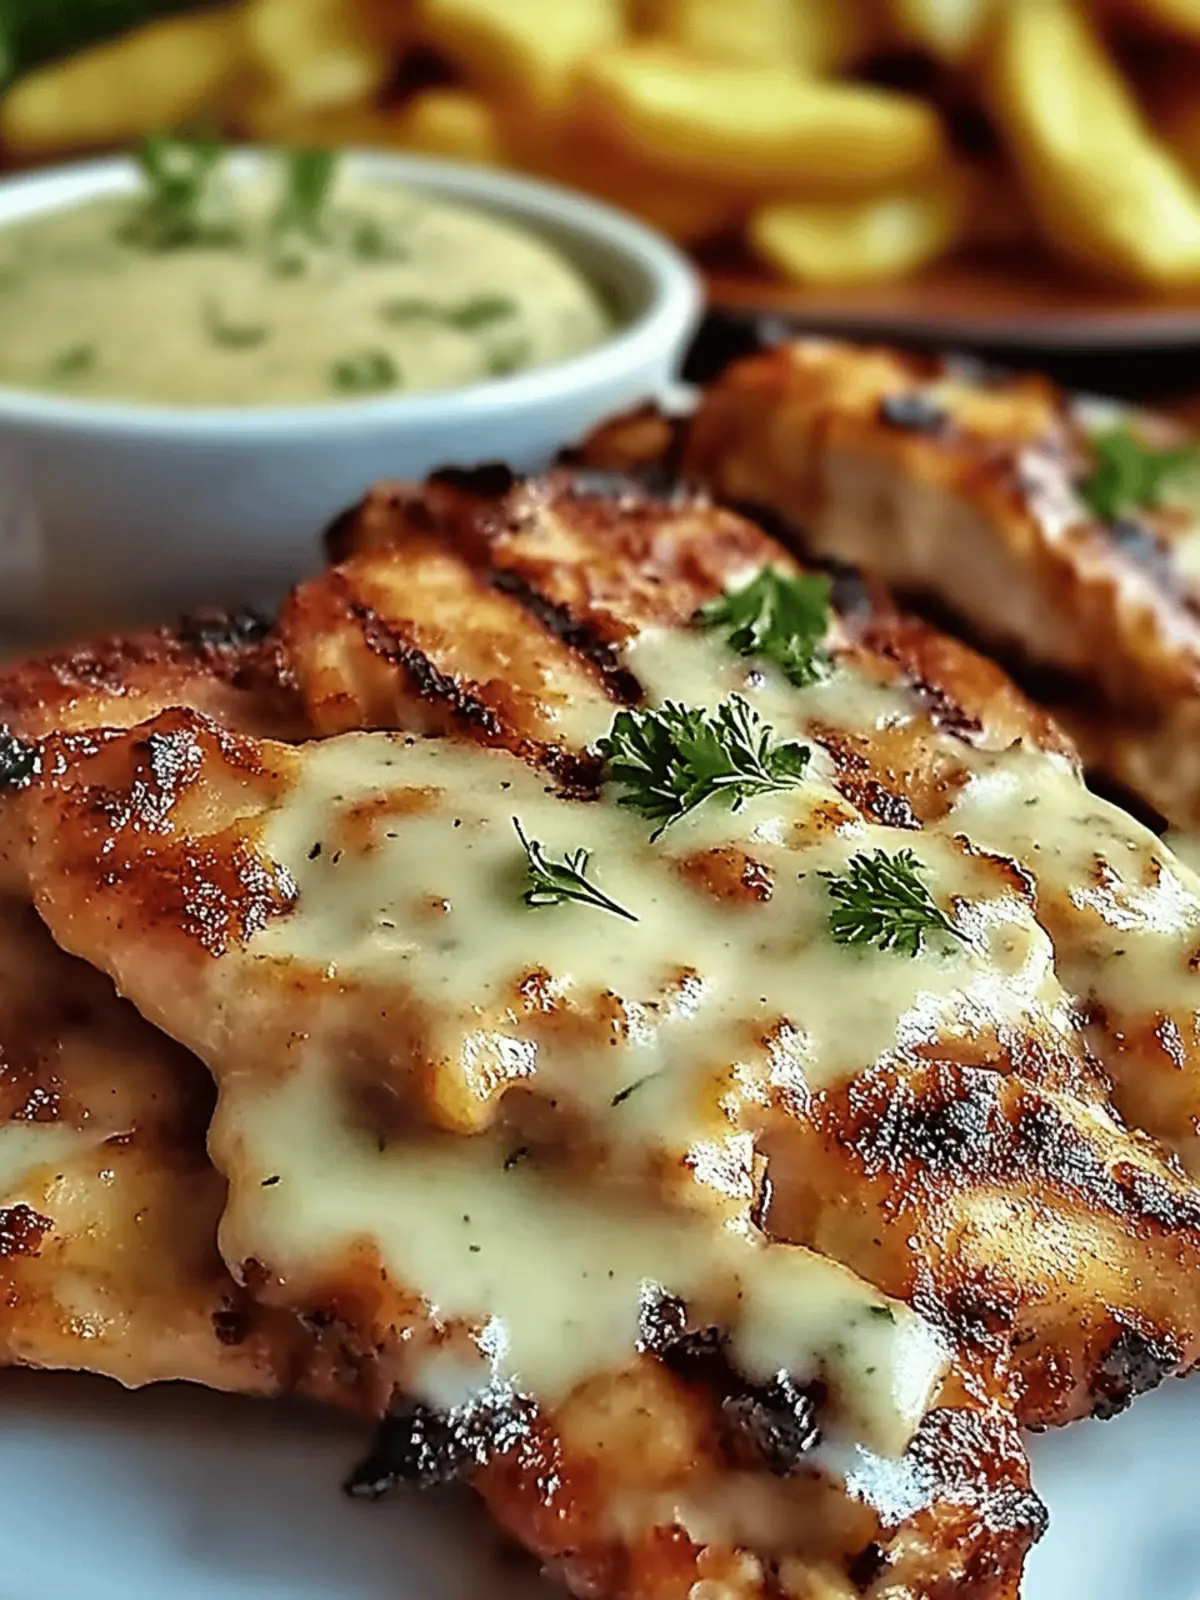
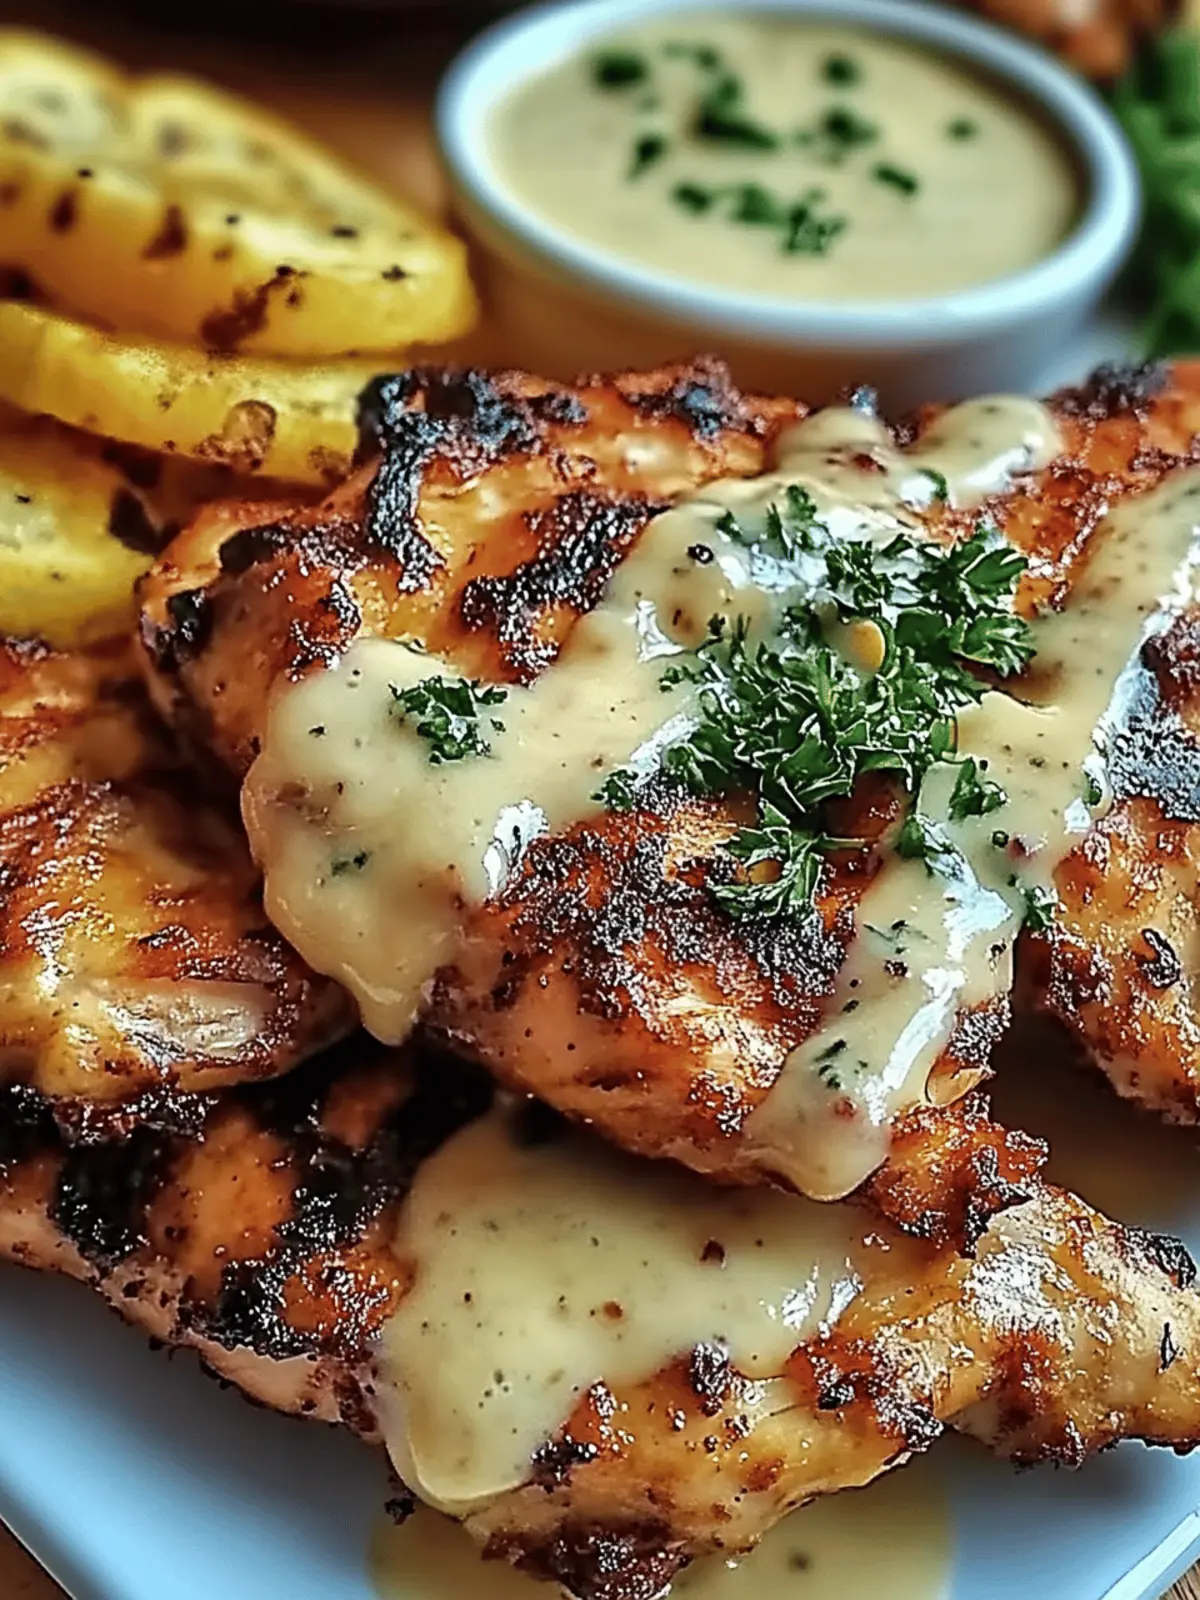
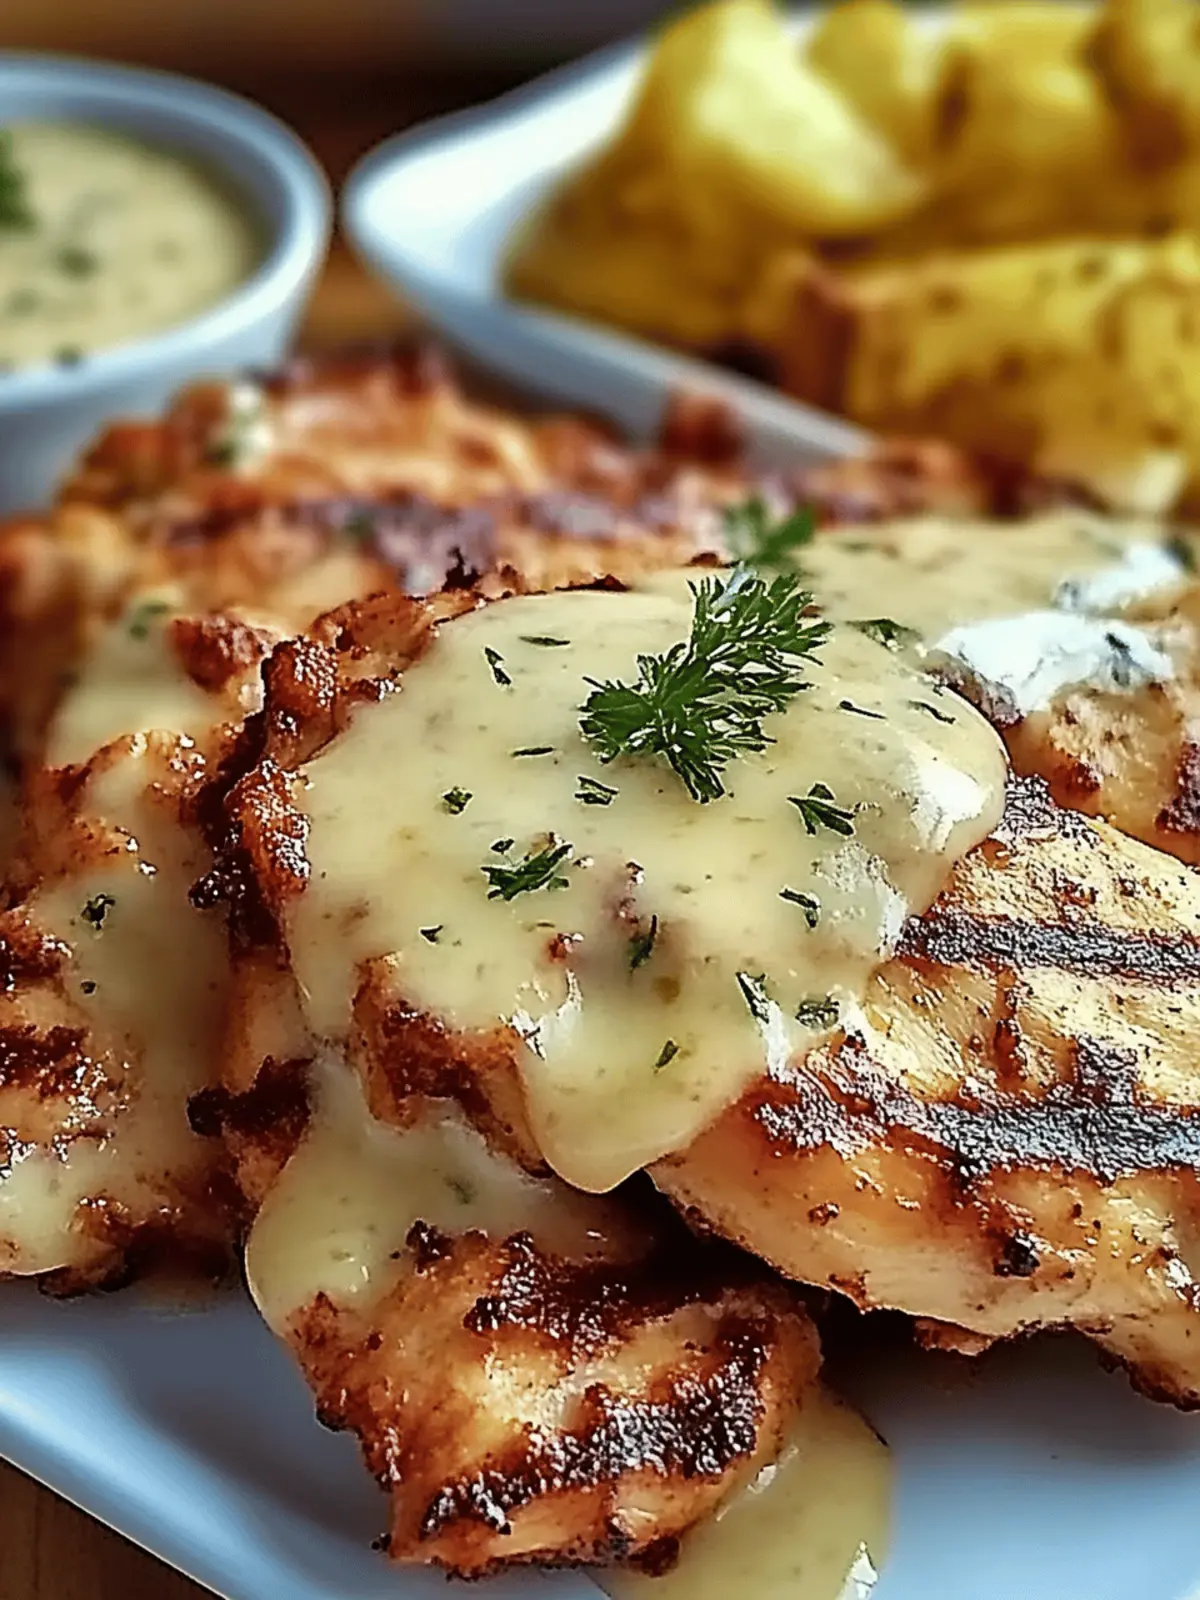
When the craving for comfort food strikes, there’s nothing quite like the warm embrace of a classic Malibu Chicken recipe. Picture this: tender, crispy chicken kissed by a delectable layer of savory ham and melted Swiss cheese, all drizzled with a rich, creamy mustard sauce that dances on your palate. This dish effortlessly brings back memories of cozy family dinners and childhood favorites, but with an elevated twist that will impress your loved ones.
I discovered this gem during a particularly busy week when takeout just wouldn’t do. The golden crust of the chicken offers that satisfying crunch we all crave, while the tangy mustard sauce ties it all together, transforming a simple weeknight dinner into a delightful feast. Whether you’re a seasoned chef or someone who just loves home-cooked meals, this easy-to-prepare recipe will quickly become a staple in your kitchen. So, let’s roll up our sleeves and create a dish that’s bound to bring smiles around the table!
Why Choose This Malibu Chicken Recipe?
Comfort Food Delight: This Malibu Chicken recipe is the epitome of cozy, satisfying meals that bring everyone together.
Easy to Prepare: With simple steps and minimal ingredients, it’s a breeze for busy weeknights or special occasions.
Impressive Flavor: The combination of crispy chicken, savory ham, and melted Swiss cheese will leave your taste buds dancing.
Kid-Friendly: A hit with both adults and kids, it’s perfect for family dinners where everyone leaves happy.
Versatile Options: Easily adapt the recipe to suit gluten-free diets or substitute ingredients based on what you have on hand.
Quick Cooking: In just about 30 minutes, you can serve up a restaurant-style dish right at home.
Malibu Chicken Ingredients
-
For the Chicken
-
Boneless Chicken Breasts – Thinly pounded chicken ensures even cooking for a perfectly tender bite.
-
Ham Slices – Adds a savory flavor; opt for Black Forest or Honey ham to add depth.
-
Swiss Cheese – Melts beautifully over the chicken; consider substituting with Provolone or Gruyère for a twist.
-
All-Purpose Flour – Dredging component for that irresistible crisp; gluten-free flour is a great alternative.
-
Eggs – Binds the breadcrumbs to the chicken; for a vegan option, use a plant-based milk mixture.
-
Panko Breadcrumbs – Delivers an extra crunch, perfect for that crispy texture; select gluten-free Panko if needed.
-
Olive Oil (or Butter) – Essential for frying, achieving that golden-brown perfection.
-
For the Creamy Mustard Sauce
-
Mayonnaise – The base for a rich sauce; can be swapped with Greek yogurt for a lighter flavor.
-
Dijon Mustard – Provides a delightful sharpness; yellow mustard works too if you’re in a pinch.
-
Honey – Sweetens the sauce nicely; use maple syrup as a similar alternative.
-
Lemon Juice – Balances richness with a fresh zing; vinegar can substitute well.
-
Worcestershire Sauce (optional) – Deepens flavor; just be sure it’s gluten-free if necessary.
-
For Seasoning
-
Salt and Pepper – Essential for enhancing the overall flavor; adjust to taste.
This delicious Malibu Chicken recipe is sure to become a cherished favorite in your home!
How to Make Malibu Chicken
-
Prepare the Chicken: Pound the boneless chicken breasts between plastic wrap to about ¼-½ inch thick. Season both sides generously with salt and pepper for delicious flavor.
-
Setup Breading Station: Arrange three separate dishes for the all-purpose flour, beaten eggs, and seasoned Panko breadcrumbs. This will make the breading process seamless and fun!
-
Bread the Chicken: Dredge each piece of seasoned chicken in flour, making sure to coat it evenly, then dip in the beaten eggs before finally coating it in Panko breadcrumbs for that wonderful crunch.
-
Cook the Chicken: Preheat your oven to 400°F. In a large skillet, pan-fry the breaded chicken in olive oil or butter until it’s golden brown, about 3 minutes per side. Transfer the chicken to a baking dish afterward.
-
Assemble: Top each piece of crispy chicken with one or two slices of savory ham, followed by 1-2 slices of Swiss cheese to ensure gooey goodness when melted.
-
Bake: Place the assembled chicken in the oven and bake for 15-20 minutes. You want the chicken to reach an internal temperature of 165°F and for the cheese to get beautifully melted.
-
Make the Sauce: While the chicken bakes, prepare the creamy mustard sauce by whisking together mayonnaise, Dijon mustard, honey, lemon juice, and Worcestershire sauce in a bowl. Taste and adjust seasoning if necessary!
-
Serve: Once the chicken has rested for a few minutes, drizzle your flavorful sauce generously over each piece. Garnish with fresh parsley if desired for an added touch of color.
Optional: Serve with a side salad or roasted vegetables for a complete meal.
Exact quantities are listed in the recipe card below.
Malibu Chicken Variations
Embrace your creativity and make this Malibu Chicken recipe your own with these delightful twists!
-
Cheese Swap: Substitute Swiss cheese with Provolone or Gruyère for a distinctively different flavor experience that melts beautifully.
-
Ham Variety: Use smoked deli ham or Virginia ham instead of regular ham to give your dish a rich, savory boost that’s sure to impress.
-
Gluten-Free Crunch: Swap traditional breadcrumbs for crushed gluten-free crackers or cornflakes for those with gluten sensitivities. The crunch will still be delightful!
-
Spicy Kick: Add a pinch of cayenne pepper or a dash of hot sauce to the mustard sauce for those who crave a little heat and excitement!
-
Herb-Infused Sauce: Mix fresh herbs like dill or chives into the creamy mustard sauce to give it a fresh pop of flavor that brightens every bite.
-
BBQ Twist: Use barbecue sauce in place of the mustard for a smoky, sweet flavor profile that adds a fun twist to this classic dish.
-
Stuffed Chicken: Stuff the chicken breasts with a mix of spinach and feta before breading them to introduce a whole new depth of flavor and a lovely surprise inside.
-
Zesty Spin: For a citrusy freshness, add lime juice or lime zest to the creamy sauce, enhancing the tanginess while balancing the richness beautifully.
Each of these variations invites you to explore new tastes while keeping the heart of the dish intact. What will you try first?
How to Store and Freeze Malibu Chicken
-
Fridge: Store any leftover Malibu Chicken in an airtight container for up to 3-4 days. This keeps the chicken moist and prevents it from drying out.
-
Freezer: You can freeze Malibu Chicken for up to 2 months. Wrap the prepared pieces tightly in plastic wrap and then in aluminum foil to avoid freezer burn.
-
Reheating: To reheat, place the chicken in the oven at 350°F until heated through, about 15-20 minutes, which helps maintain the crispy texture.
-
Sauce Storage: The creamy mustard sauce can be made in advance and stored in the fridge for 2-3 days or frozen in individual portions for up to 1 month.
What to Serve with Malibu Chicken?
Create a memorable meal by pairing this delightful dish with complementary sides that enhance its comforting flavors.
-
Creamy Mashed Potatoes: A classic side that adds warmth, their smooth texture pairs perfectly with the crispy chicken and rich sauce.
-
Garlic Green Beans: Their fresh crunch balances the rich chicken, while a touch of garlic adds an aromatic flair to your plate.
-
Caesar Salad: Crisp romaine with a tangy dressing echoes the creamy mustard sauce beautifully, offering a refreshing contrast.
-
Roasted Sweet Potatoes: The natural sweetness enhances the savory notes of the chicken, while their tender texture provides a delightful bite.
-
Butter Herb Rice: A fragrant base that complements the chicken, the lightness of the rice allows the main dish to shine through.
-
Chimichurri Sauce: This zesty green sauce adds brightness that cuts through the richness, invigorating each bite of chicken.
-
Apple Pie: For dessert, this classic choice offers a comforting sweet finish, reminiscent of family gatherings and childhood memories.
-
Sparkling Lemonade: A refreshing beverage choice, its zingy flavor cleanses your palate and adds a celebratory touch to your meal.
Expert Tips for Malibu Chicken
-
Pound Evenly: For consistent cooking, ensure chicken breasts are pounded to a uniform thickness of ¼-½ inch. This prevents any dry areas and promotes tenderness.
-
Breading Technique: Use one hand for wet ingredients (eggs) and another for dry (flour, breadcrumbs). This prevents clumping and makes your breading process mess-free.
-
Monitor Frying: Keep an eye on the pan while frying; overcooking can lead to burnt breadcrumbs. Aim for a golden brown on both sides before baking.
-
Cook Properly: Always check the internal temperature of the chicken with a meat thermometer; it should reach 165°F to ensure it’s safe and juicy.
-
Flavor Variations: Don’t be afraid to experiment! Substitute ingredients in your Malibu Chicken recipe, like using different cheeses or mustards to create new flavor profiles.
-
Serve Promptly: Enjoy your dish fresh out of the oven, as the crispy texture and creamy sauce are best right after baking!
Make Ahead Options
These Malibu Chicken breasts are perfect for meal prep, allowing you to savor great home cooking even on the busiest nights! You can prepare and bread the chicken up to 24 hours in advance—just chill them in the refrigerator to maintain freshness. Additionally, the creamy mustard sauce can be whipped up 2-3 days ahead and stored in an airtight container. This not only saves time, but also lets the flavors meld beautifully. When you’re ready to serve, simply bake the breaded chicken as directed until golden and melty, drizzle with your sauce, and enjoy restaurant-quality results right at home!
Malibu Chicken Recipe FAQs
What type of chicken should I use for Malibu Chicken?
For the best results in this Malibu Chicken recipe, use boneless chicken breasts that are thinly pounded to about ¼-½ inch thick. This ensures even cooking and tenderness, giving you that juicy, delightful bite everyone loves!
How long can I store leftover Malibu Chicken?
You can store any leftover Malibu Chicken in an airtight container in the refrigerator for up to 3-4 days. Be sure to let it cool completely before sealing it up, to keep it moist and fresh without condensation.
Can I freeze Malibu Chicken for later use?
Yes, you can freeze Malibu Chicken for up to 2 months! Wrap the cooked chicken pieces tightly in plastic wrap, then in aluminum foil to prevent freezer burn. When you’re ready to enjoy it, thaw in the fridge overnight and reheat in the oven at 350°F for about 15-20 minutes until heated through.
What if my breadcrumbs aren’t sticking to the chicken?
If you find your breadcrumbs aren’t sticking well, ensure you’re properly dredging each chicken piece. Start by coating it in flour, then dip it in the beaten eggs, making sure it’s fully covered, and finally, coat it thoroughly with the Panko breadcrumbs. If you’re still having trouble, a light mist of cooking spray can help the breadcrumbs adhere better during frying.
Are there any dietary considerations for Malibu Chicken?
Absolutely! This Malibu Chicken recipe can easily be made gluten-free by substituting all-purpose flour and Panko breadcrumbs with gluten-free alternatives available at most grocery stores. If you have concerns about dairy, opt for non-dairy cheeses and Greek yogurt for the sauce. Always check ingredient labels for potential allergens like cross-contaminated wheat or dairy.

Malibu Chicken Recipe: Crispy Comfort with Creamy Sauce
Ingredients
Equipment
Method
- Pound the boneless chicken breasts between plastic wrap to about ¼-½ inch thick. Season both sides generously with salt and pepper.
- Arrange three separate dishes for the all-purpose flour, beaten eggs, and seasoned Panko breadcrumbs.
- Dredge each piece of seasoned chicken in flour, dip in the beaten eggs, and coat in Panko breadcrumbs.
- Preheat the oven to 400°F. In a skillet, pan-fry the breaded chicken in olive oil or butter until golden brown, about 3 minutes per side. Transfer to a baking dish.
- Top each piece of crispy chicken with ham slices and Swiss cheese.
- Bake for 15-20 minutes until the chicken reaches an internal temperature of 165°F and the cheese is melted.
- Prepare the creamy mustard sauce by whisking together mayonnaise, Dijon mustard, honey, lemon juice, and Worcestershire sauce.
- Drizzle the sauce over each piece before serving. Garnish with fresh parsley if desired.


