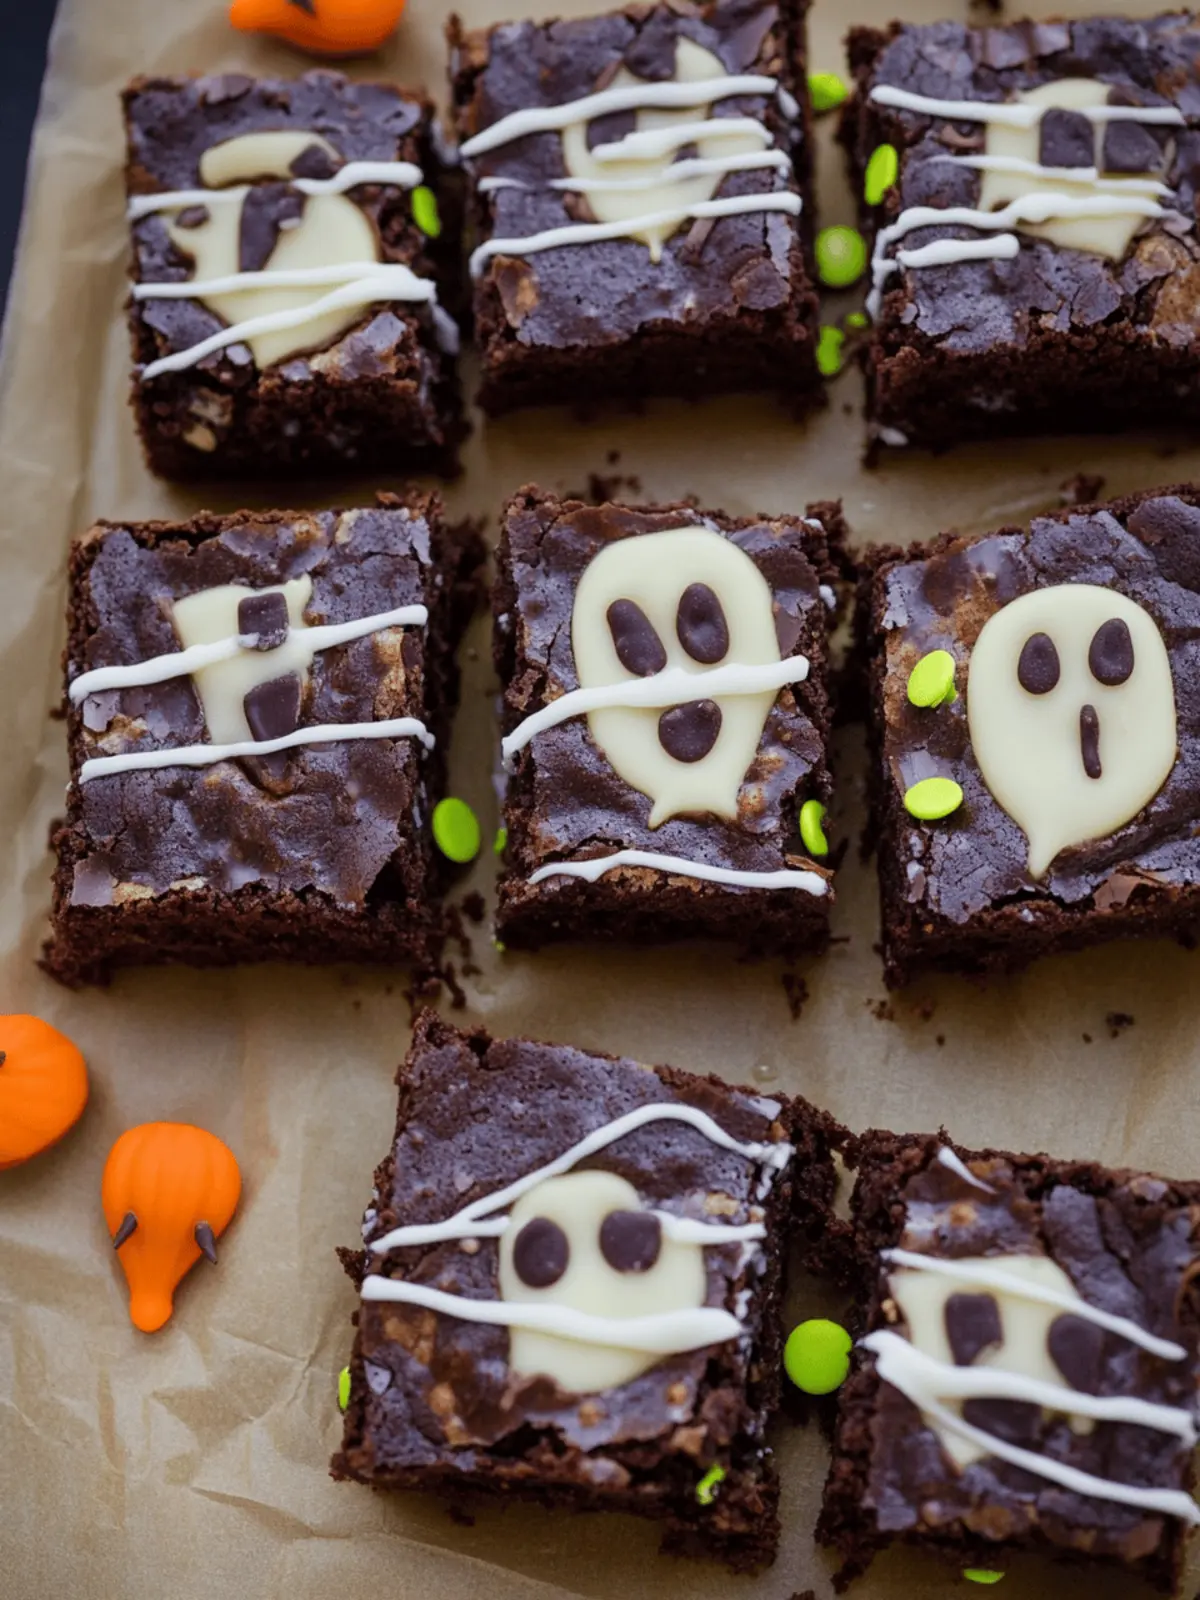
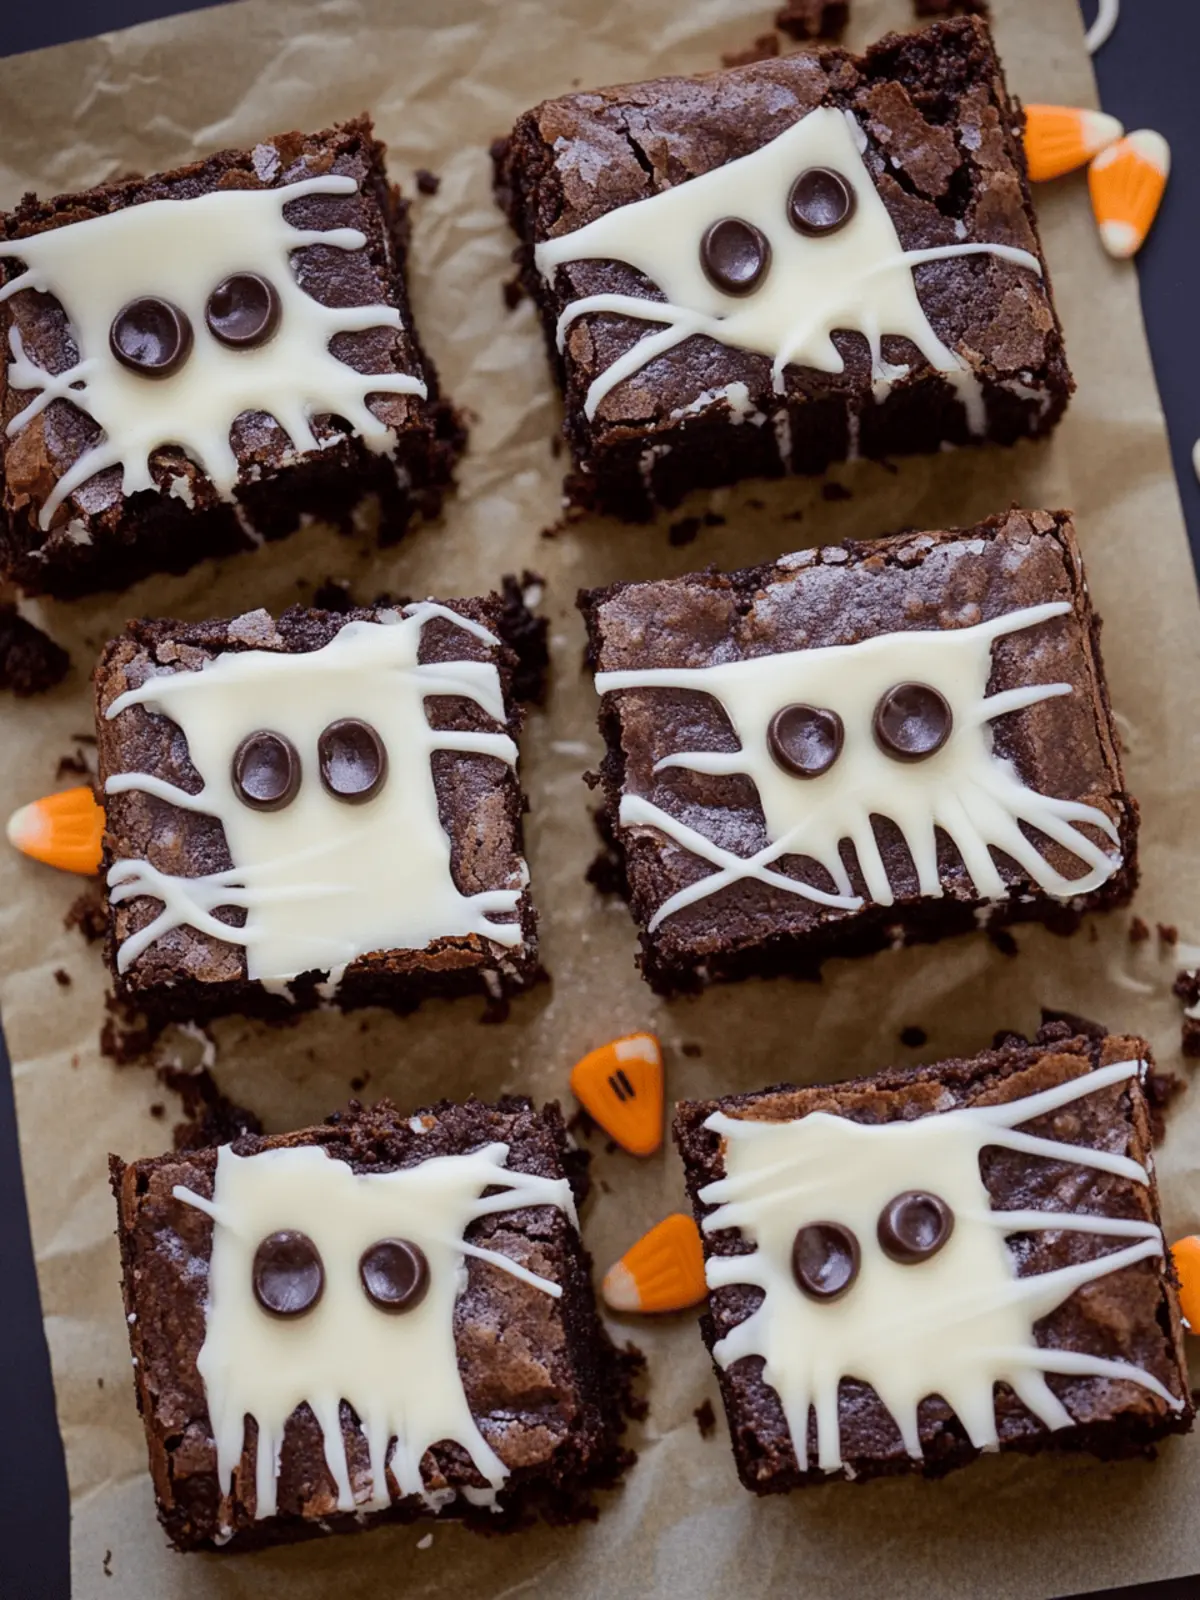
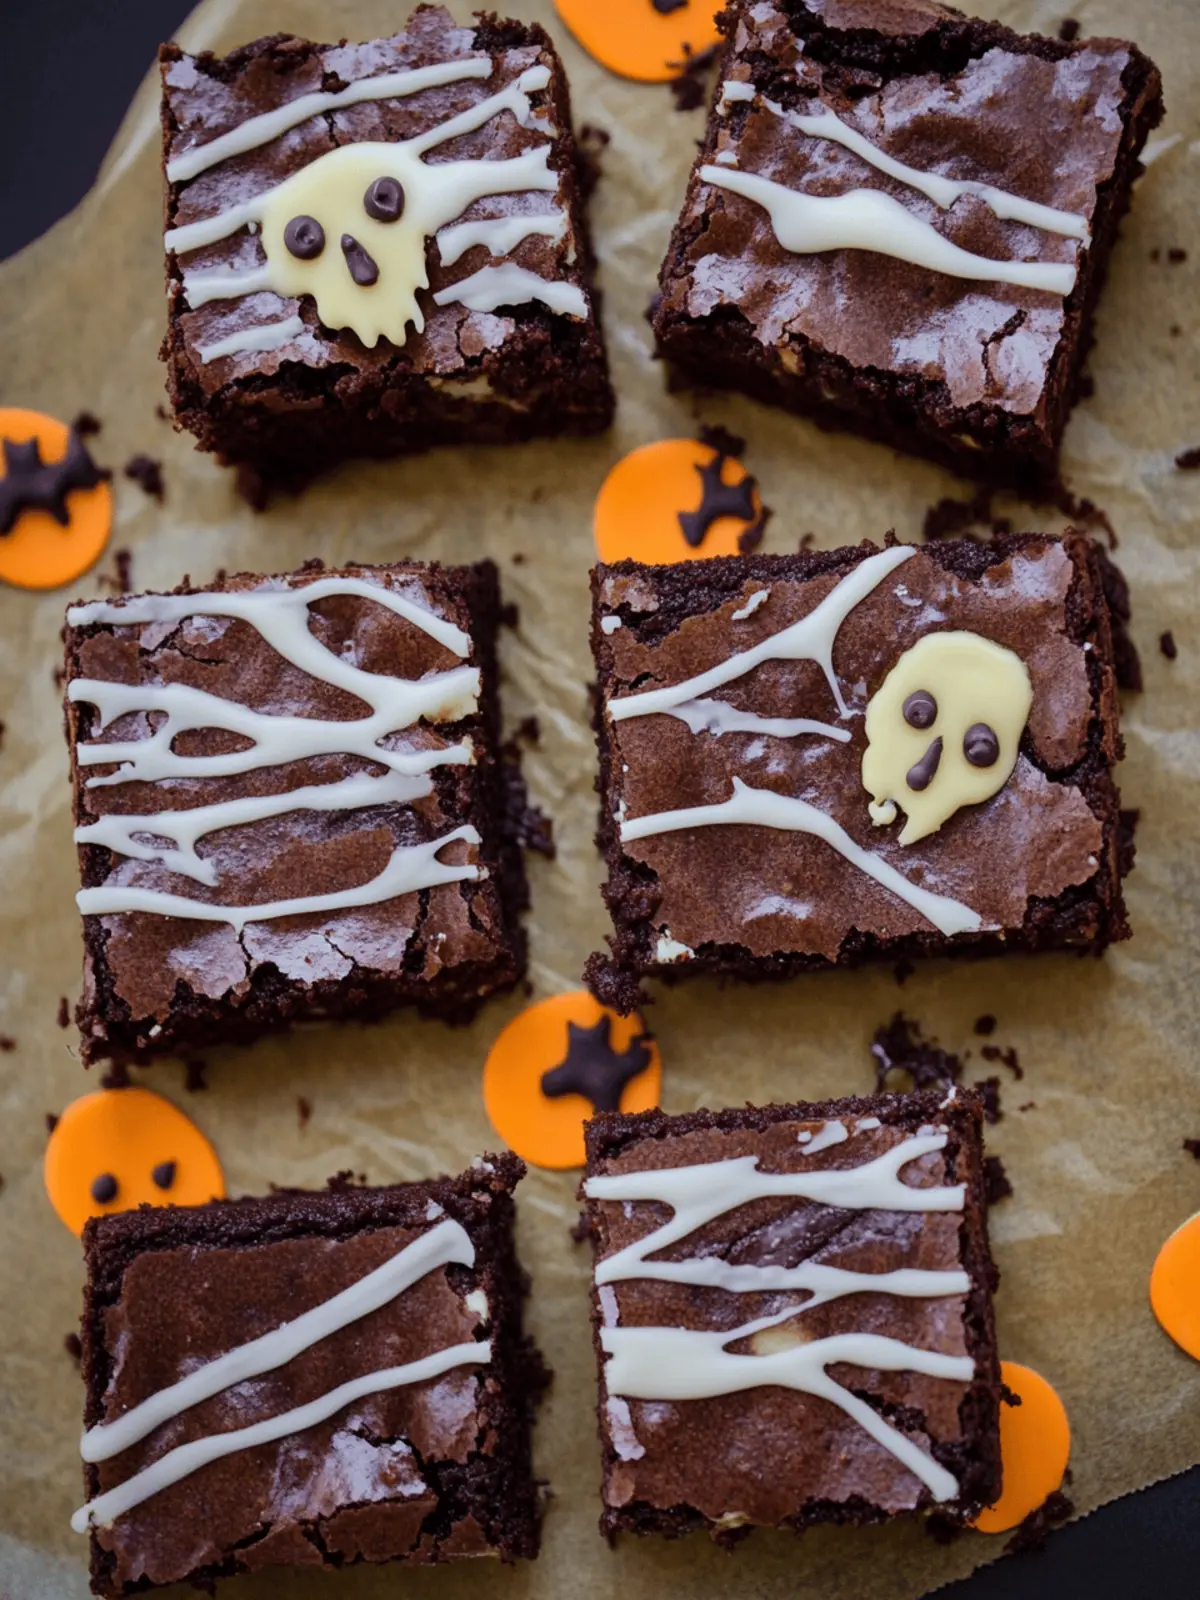
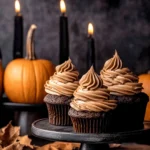
As the air turns crisp and leaves rustle underfoot, the excitement of Halloween creeps into every corner of our homes. This season, I decided to channel that festive spirit into something sweet and scrumptious—Easy Halloween Brownies 3 Ways! Imagine the delightful aroma of rich chocolate wafting from your oven, blending with the playful anticipation of witnessing little goblins and witches at your door.
These brownies are not just a tasty treat; they’re a canvas for creativity! Whether you prefer classic flavors or are daring enough to explore spooky decorations, you’ll find a version that perfectly captures your Halloween vibe. What’s even better? Each recipe requires minimal effort, allowing you to whip up a batch without sacrificing time enjoying the festivities or hunting for confectionary treasures.
So, gather your ingredients and let’s dive into these delicious brownie recipes that promise to make your Halloween gatherings a little sweeter and a lot more fun!
Why are Easy Halloween Brownies 3 Ways a Must-Try?
Indulging in Easy Halloween Brownies 3 Ways brings the festive spirit to your kitchen!
- Versatile Options: From classic fudgy to ghostly delights, there’s a brownie for every palate.
- Easily Customizable: Get creative with toppings, colors, and designs to match your spooky theme!
- Quick Prep: With minimal steps, you’ll be in and out of the kitchen, leaving more time for Halloween fun.
- Family-Friendly Fun: Kids love helping with decorations, making these brownies a family activity everyone enjoys.
- Crowd-Pleasing Treats: Perfect for parties or trick-or-treaters, these brownies will be a hit with all ages!
Enjoy baking your Halloween treats and let the festivities begin!
Easy Halloween Brownies 3 Ways Ingredients
For the Classic Brownies
- Unsalted Butter – Melted for that rich, fudgy texture that classic brownies are known for.
- Granulated Sugar – Sweetness is key; adjust to your taste, but don’t skimp!
- Brown Sugar – Adds depth and moisture to the brownies, enhancing their chewiness.
- Vanilla Extract – A splash of this elevates the flavor profile, making them irresistibly fragrant.
- All-Purpose Flour – The backbone of the brownie batter; measure carefully for the best results.
- Cocoa Powder – Use a high-quality cocoa to ensure a bold chocolate flavor.
- Eggs – Essential for binding; try using room temperature eggs for optimal mixing.
For the Pumpkin Spice Brownies
- Canned Pumpkin Puree – This star ingredient lends moisture and a subtle autumn flavor.
- Pumpkin Pie Spice – A blend of cinnamon, nutmeg, and ginger that captures the essence of fall.
- Chopped Nuts – Optional, but they add a delightful crunch and extra layer of texture.
For the Ghostly Topping
- White Chocolate Chips – Melt these to create a smooth, spooky drizzle over your brownies.
- Candy Eyes – These playful decorations turn your brownies into adorable ghostly figures.
- Edible Glitter – Sprinkle on top to add a magical touch for a festive flair!
Bringing creativity to life, these Easy Halloween Brownies 3 Ways will surely enchant everyone this spooky season!
How to Make Easy Halloween Brownies 3 Ways
-
Preheat your oven: Set your oven to 350°F (175°C) to prepare for baking. A well-preheated oven ensures your brownies cook evenly, yielding that fudgy center and delightfully crispy edges.
-
Prepare the batter: In a large bowl, whisk together the melted butter, granulated sugar, brown sugar, and vanilla extract until smooth. The mixture should be glossy, bringing out a beautiful texture that’s perfect for brownies.
-
Incorporate the eggs: Add in the eggs one at a time, mixing until fully integrated before adding the next. This step is crucial for achieving that rich, gooey consistency we love in brownies.
-
Combine dry ingredients: Sift together the all-purpose flour and cocoa powder, then gradually fold them into the wet mixture. Be gentle; overmixing can lead to dense brownies instead of the dreamy, fudgy ones we desire!
-
Divide the batter: For your pumpkin spice version, mix in the canned pumpkin puree and pumpkin pie spice right into half of the brownie batter. This will create two delicious flavors from one base!
-
Bake and cool: Pour the batters into a greased or lined baking pan, spreading evenly. Bake for 20-25 minutes or until a toothpick inserted in the center comes out with a few moist crumbs. Let them cool completely before decorating.
-
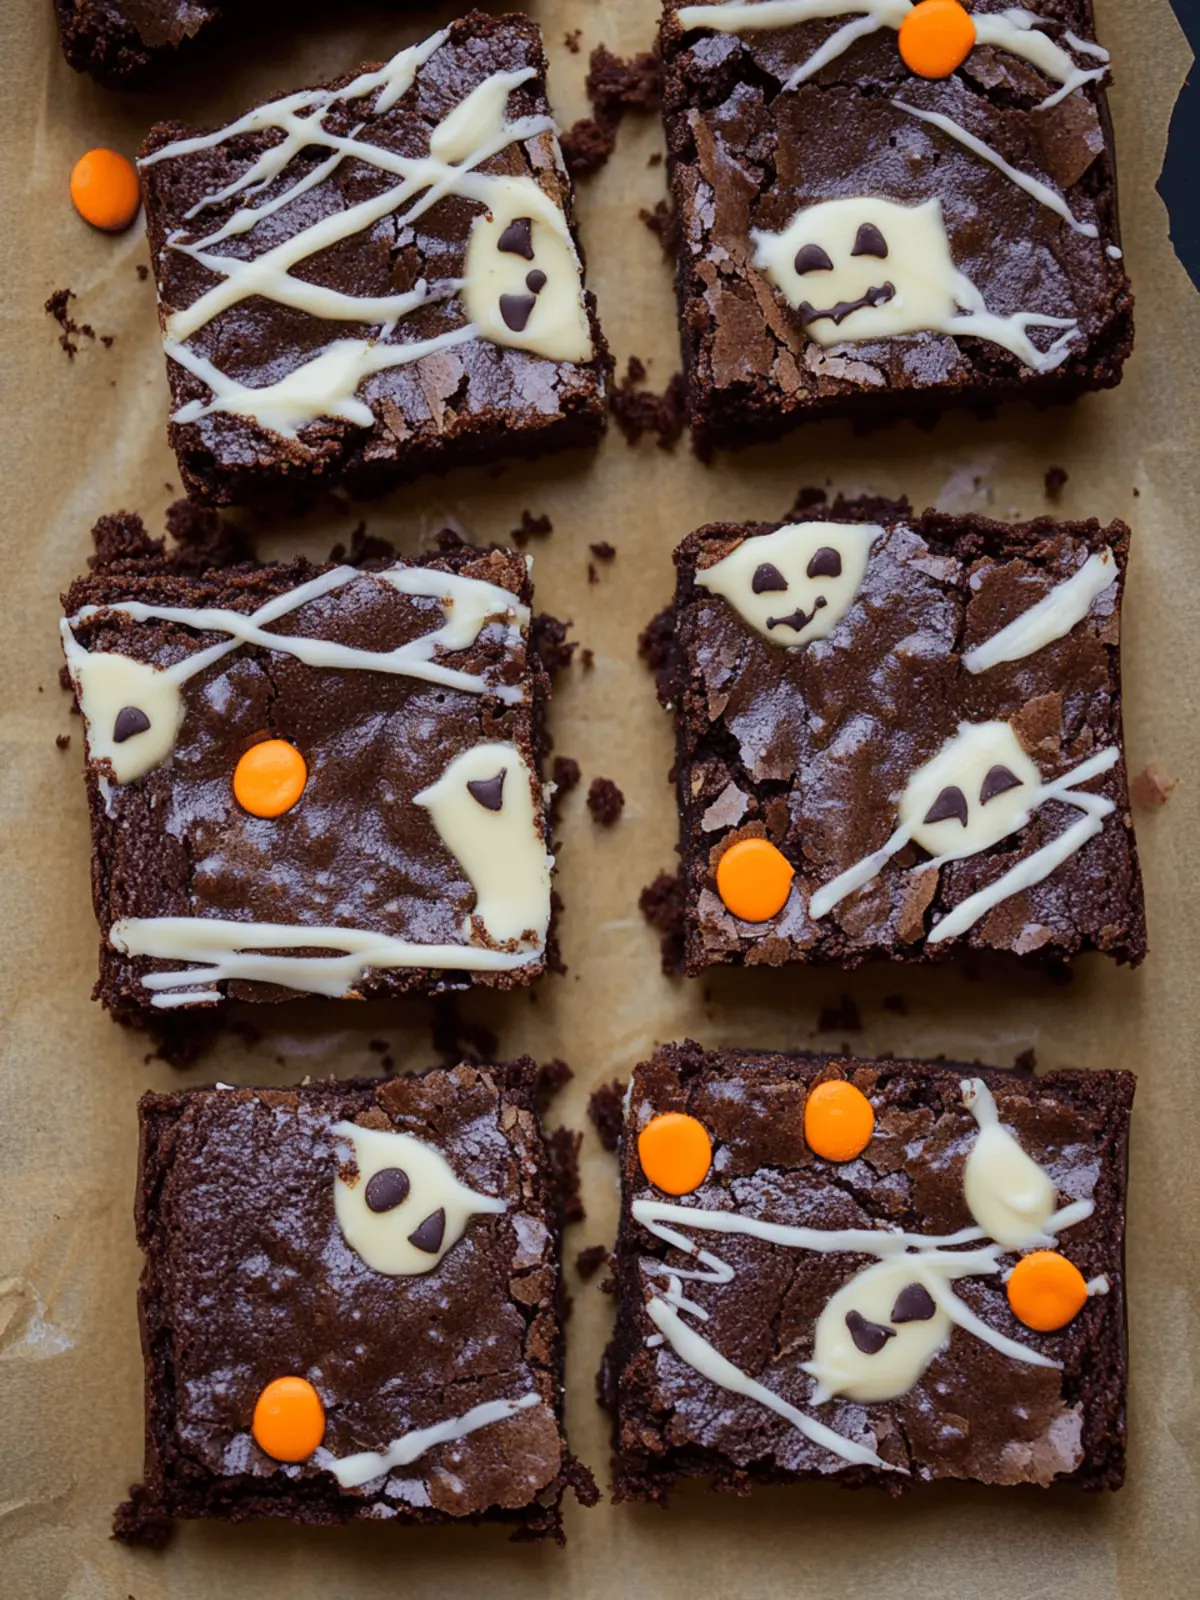
Decorate your brownies: For the Ghostly Topping: Melt white chocolate chips and drizzle over the brownies. Add candy eyes and a sprinkle of edible glitter to transform your brownies into spooky, adorable treats!
Optional: Top with festive sprinkles for an added Halloween touch!
Exact quantities are listed in the recipe card below.
Tips for the Best Easy Halloween Brownies
• Mix with Care: Avoid over-mixing your batter after adding flour; this keeps your Easy Halloween Brownies light and fudgy.
• Room Temperature Ingredients: Ensure your eggs and butter are at room temperature; this helps them blend seamlessly for a richer texture.
• Check for Doneness: Use a toothpick to check for doneness; it should come out with a few moist crumbs, not wet batter.
• Let Cool Before Decorating: Allow your brownies to cool completely before adding toppings; this prevents melting and ensures your spooky designs stand out.
• Get Creative: Feel free to experiment with colors and decorations; the more playful, the better for your Easy Halloween Brownies!
How to Store and Freeze Easy Halloween Brownies
Room Temperature: Store your brownies in an airtight container at room temperature for up to 5 days. This keeps them deliciously soft and fudgy.
Fridge: If you prefer colder brownies, you can refrigerate them for up to a week. Just ensure they’re well-wrapped to prevent drying out.
Freezer: For longer storage, freeze the brownies in an airtight container for up to 3 months. Thaw in the fridge overnight before enjoying.
Reheating: Warm up individual pieces in the microwave for about 10-15 seconds. This refreshes their fudgy texture, making them taste freshly baked.
Easy Halloween Brownies 3 Ways Variations
Get ready to personalize your treats with delightful twists that will tickle your taste buds!
- Gluten-Free: Substitute all-purpose flour with a gluten-free flour blend for a deliciously inclusive treat. Everyone deserves a bite!
- Nutty Delight: Add chopped walnuts or pecans to the batter for a crunchy texture that pairs beautifully with the chocolatey goodness. Nuts bring that extra satisfaction!
- Minty Fresh: Stir in a few drops of peppermint extract for a refreshing twist; this makes the brownies exceptionally festive and irresistible! Mint and chocolate are meant to be.
- Spicy Treat: Incorporate a pinch of cayenne or chili powder to the batter for a surprising kick that will warm your spirits on chilly Halloween nights. A little heat adds excitement!
- Caramel Swirl: Drizzle melted caramel into the batter just before baking to create pockets of gooey sweetness throughout. Sweet, sticky bliss in every bite!
- Cheesecake Topping: Mix cream cheese, sugar, and egg, dollop it on top of the brownie batter, and swirl for a marbled effect; this adds a creamy texture that complements the chocolate perfectly.
- S’mores Brownies: Layer crushed graham crackers and mini marshmallows on top of the brownie batter before baking for a gooey, campfire-inspired treat. Who can resist this campy twist?
- Fruit Infused: Fold in your favorite dried fruits, like cherries or cranberries, into the batter for a chewy, fruity surprise with every bite. These fruity notes can elevate your brownies to new heights!
What to Serve with Easy Halloween Brownies 3 Ways?
As you prepare for your Halloween festivities, pair these delightful brownies with treats that enhance their chocolaty goodness and festive flair.
- Chilling Milk: A classic duo, the coldness of milk perfectly complements the rich chocolate flavor of your brownies.
- Pumpkin Spice Latte: Embrace the season with warm, spiced coffee that echoes the seasonal notes in your brownies.
- Whipped Cream: Top your brownies with a dollop of fluffy whipped cream for lightness that contrasts with their dense texture.
- Coffee: Whether hot or iced, the bitterness of coffee balances the sweetness of brownies beautifully.
- Caramel Sauce: Drizzle over your brownies for an indulgent touch; the smooth, sweet flavors elevate each bite.
- Candy Corn: Sprinkle some for a fun, seasonal touch that adds a sweet crunch and vibrant colors to your dessert table.
- Ice Cream: Serve warm brownies with a scoop of vanilla or pumpkin ice cream, creating a luxurious dessert experience.
- Sundae Toppings: Get adventurous with toppings—think crushed cookies or festive sprinkles to enhance your spooky celebration!
- Hot Chocolate: Warm up with a cup of rich hot chocolate on the side, deepening the chocolate experience of your brownies.
- Autumn Fruit Salad: Balance the sweetness with a refreshing salad of apples, pears, and pomegranate—adding a touch of freshness to your spread!
Make Ahead Options
These Easy Halloween Brownies 3 Ways are a fantastic choice for meal prep, ensuring you can enjoy spooky sweets without the last-minute rush! You can prepare the brownie batter up to 24 hours in advance—just combine your wet and dry ingredients, then refrigerate the mixture in an airtight container. This keeps the batter fresh and ensures it’s ready to bake when you are! You can also bake the brownies ahead of time; once cooled, store them covered at room temperature for up to 3 days. When you’re ready to serve, simply frost and decorate them to bring those festive flavors to life. With these make-ahead strategies, you’ll seize the Halloween spirit while saving precious time!
Easy Halloween Brownies 3 Ways Recipe FAQs
How do I select the right chocolate for my Easy Halloween Brownies?
Absolutely! For brownie recipes, using high-quality unsweetened cocoa powder is key to achieving a rich chocolate flavor. I often recommend opting for Dutch-processed cocoa, which offers deeper cocoa notes. If you’re looking for even more decadence, consider using a blend of cocoa powder and melted chocolate in your brownie batter.
How should I store my Easy Halloween Brownies?
Store your brownies in an airtight container at room temperature for up to 5 days. If you live in a warmer climate, refrigerating them can extend their freshness for about a week. Just make sure to wrap them well to avoid drying out!
Can I freeze my Easy Halloween Brownies?
Certainly! To freeze your brownies, first, let them cool completely. Cut them into squares, then place them in an airtight container or wrap them individually in plastic wrap. You can freeze them for up to 3 months. When you’re ready to enjoy, simply thaw in the refrigerator overnight. If desired, you can also warm them in the microwave for 10-15 seconds for that freshly baked taste!
What should I do if my brownies are too cakey?
If your brownies end up too cakey, it may be due to overmixing the batter or baking them for too long. To avoid this, mix the flour just until combined, and start checking for doneness a few minutes before the suggested baking time ends. Remember, a few moist crumbs on the toothpick indicates they’re perfect!
Are there any allergies I should be aware of when making Easy Halloween Brownies?
Absolutely! Be mindful of common allergens like eggs and gluten. If you’re accommodating a vegan diet, you can substitute eggs with 1/4 cup of unsweetened applesauce. For a gluten-free option, use a gluten-free flour blend instead of all-purpose flour, and ensure any chocolate toppings or decorations are gluten-free as well. Always check labels to be sure!
Easy Halloween Brownies 3 Ways for Spooky Sweet Treats
Ingredients
Equipment
Method
- Preheat your oven to 350°F (175°C).
- In a large bowl, whisk together the melted butter, granulated sugar, brown sugar, and vanilla extract until smooth.
- Add in the eggs one at a time, mixing until fully integrated before adding the next.
- Sift together the all-purpose flour and cocoa powder, then gradually fold them into the wet mixture.
- For your pumpkin spice version, mix in the canned pumpkin puree and pumpkin pie spice into half of the brownie batter.
- Pour the batters into a greased or lined baking pan, spreading evenly. Bake for 20-25 minutes or until a toothpick inserted in the center comes out with a few moist crumbs. Let them cool completely before decorating.
- Melt white chocolate chips and drizzle over the brownies. Add candy eyes and a sprinkle of edible glitter.
