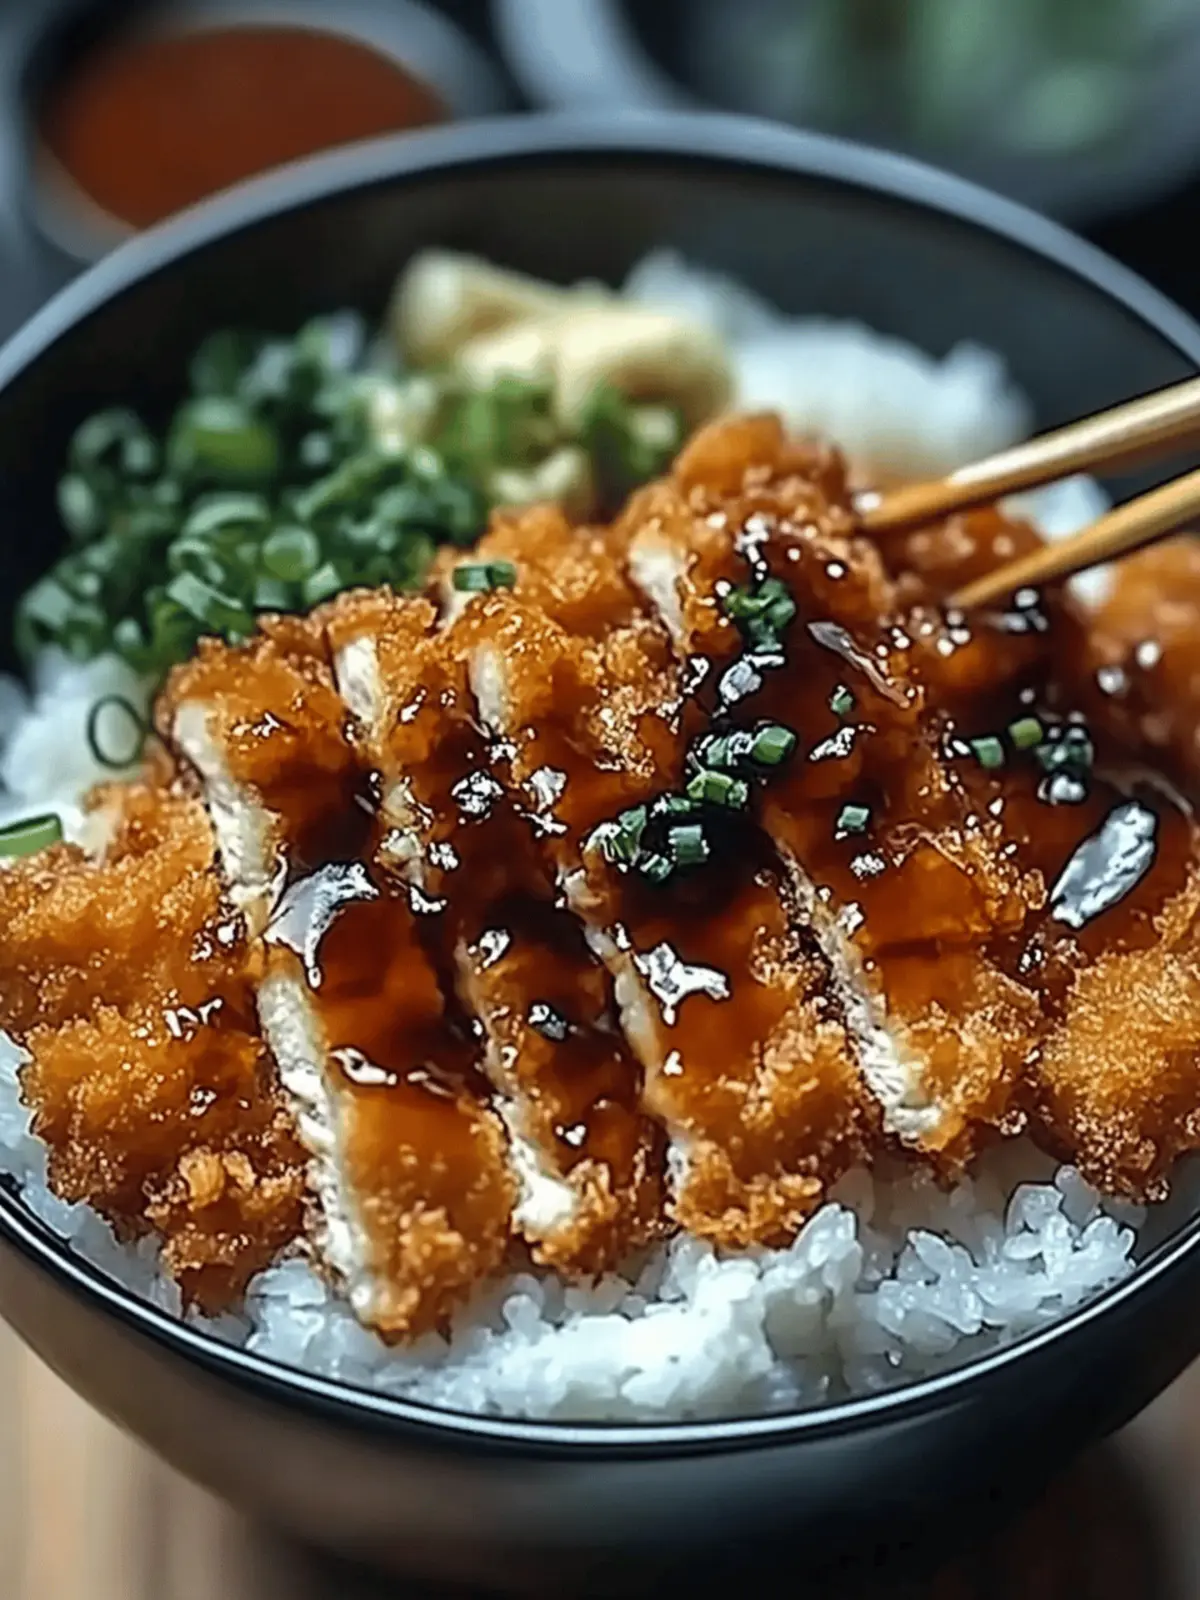
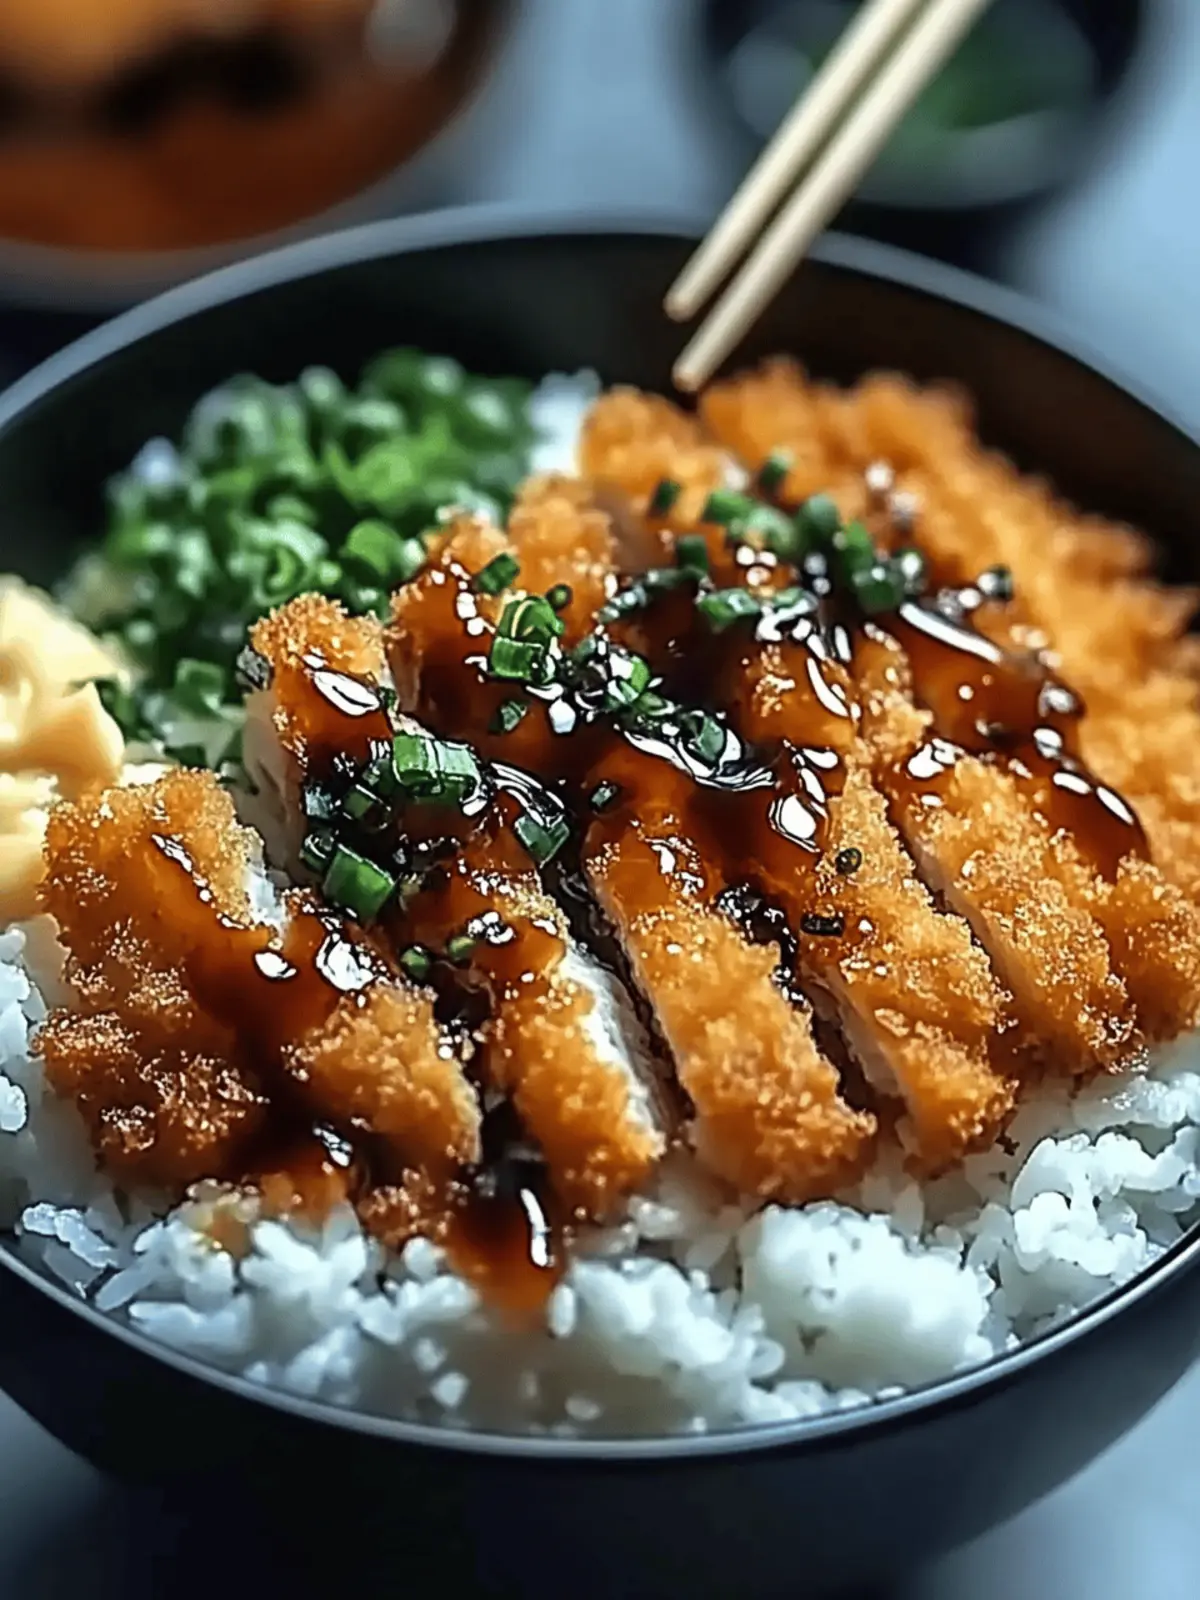
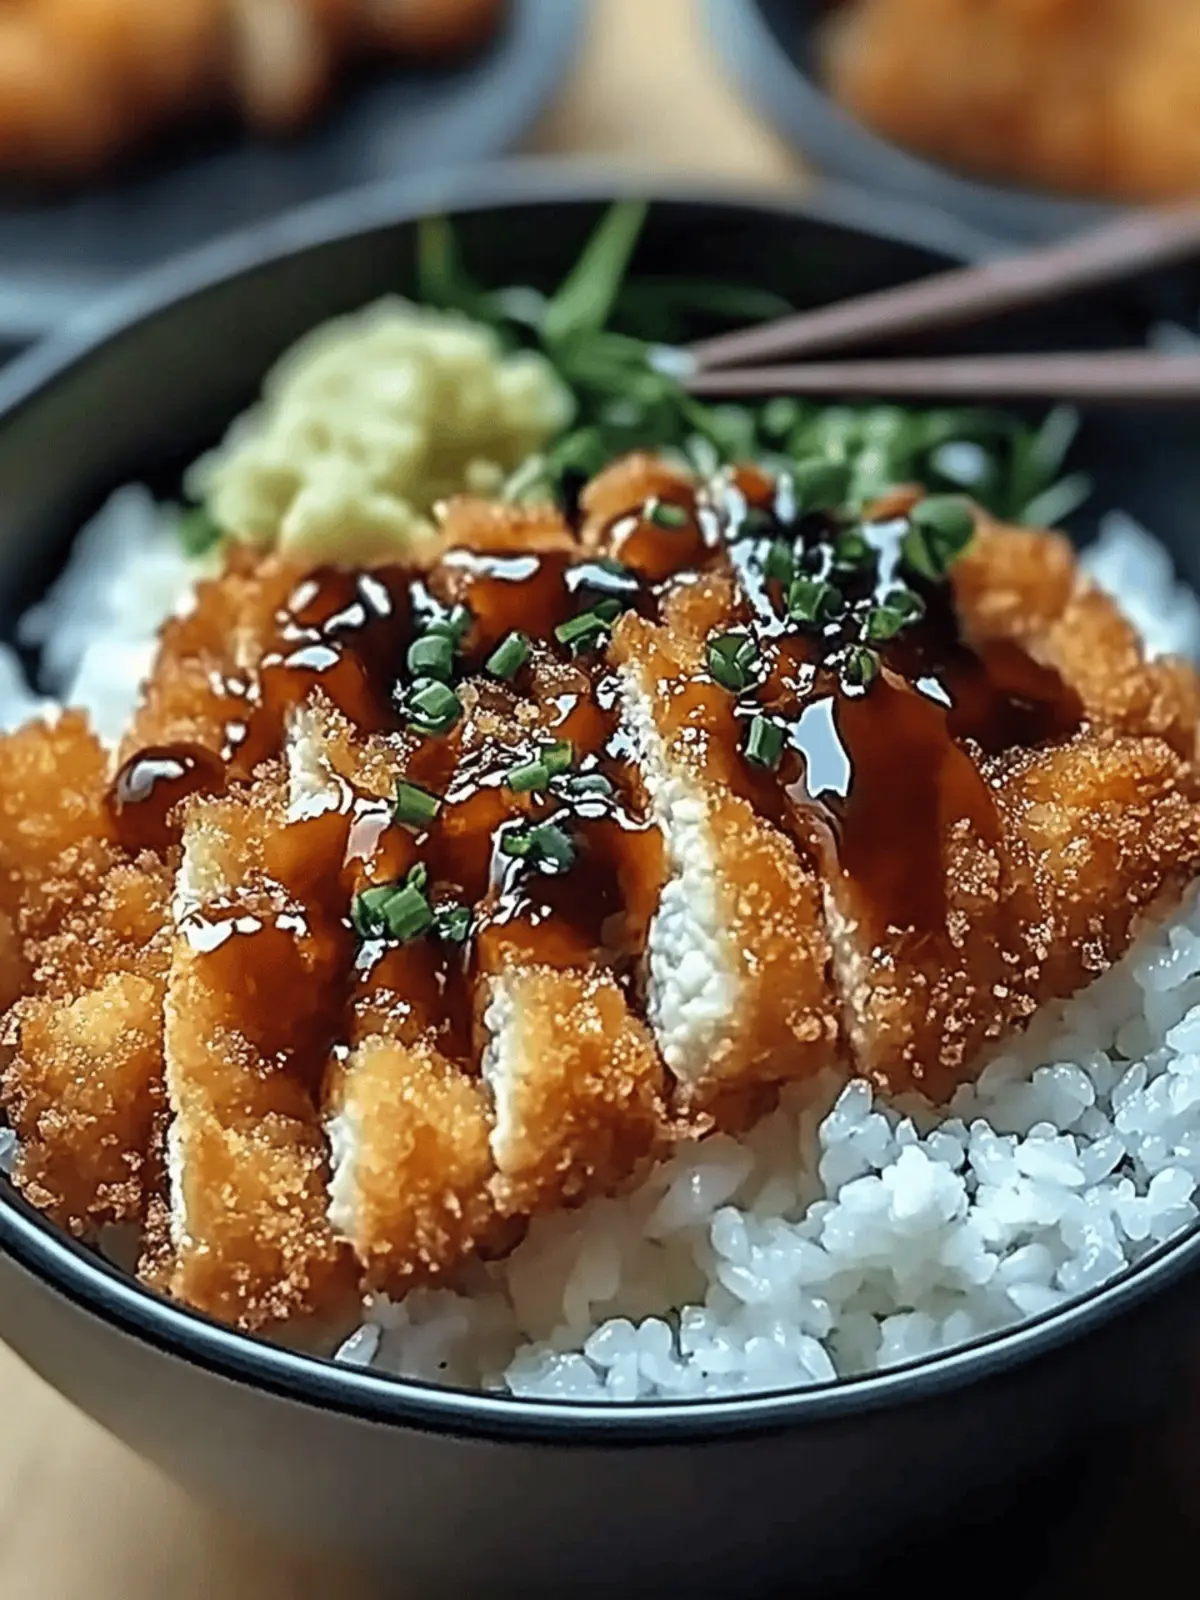
The first bite of a Japanese Katsu Bowl is like a warm embrace, the kind that wraps you up in comfort after a long day. Imagine sinking your fork into a crispy, golden-brown cutlet, the crunch resonating as it meets fluffy rice, all drizzled with a rich, savory sauce that dances on your palate. This dish isn’t just a meal; it’s an experience that transports you to a cozy eatery in Japan, right from your own kitchen.
I created this recipe during a bustling week when takeout just didn’t cut it. The kids were craving something hearty, and I was determined to trade the drive-through for a homemade feast. With simple ingredients and a little bit of time, I crafted a meal that tasted like it came from a restaurant, yet was surprisingly easy to prepare.
Whether you choose tender chicken, succulent pork, or a satisfying vegetarian option like eggplant or tofu, these Katsu Bowls are the ultimate customizable comfort food that can appeal to every palate at your dining table. Let’s dive into creating your new favorite weeknight dinner!
Why Are Japanese Katsu Bowls So Beloved?
Easy Preparation: This dish comes together with just a few simple steps, making it perfect for busy weeknights.
Crispy Delight: The golden-brown cutlets deliver a satisfying crunch that complements the fluffy rice beautifully.
Customizable Pleasure: Feel free to switch up your proteins or try vegetarian options, ensuring everyone at the table finds their favorite version!
Umami Explosion: Rich tonkatsu sauce adds depth, while fresh toppings elevate the flavors, resulting in a dish that’s both hearty and refreshing.
Family-Friendly: Kids and adults alike will love this comforting meal, making it a surefire hit for family dinners.
- Ingredients
• Japanese Katsu Bowl Ingredients
For the Katsu
- Boneless Chicken Breasts (or Pork Loin) – The star protein providing juicy flavor; substitute with tofu or eggplant for a vegetarian version.
- Salt and Pepper – Essential seasonings that enhance every bite; use freshly cracked pepper for a fragrant touch.
- All-Purpose Flour – Creates a crispy coating for katsu; can be swapped with gluten-free flour for those with dietary restrictions.
- Large Eggs – Acts as a binder for the breading; no substitutes recommended to maintain texture.
- Panko Breadcrumbs – Adds a satisfying crunch; regular breadcrumbs can be used but will reduce the signature crispiness.
For the Rice
- Japanese Short-Grain Rice – Provides a chewy base that pairs perfectly with the katsu; jasmine or basmati can be used for a different flavor profile.
- Water – Crucial for cooking the rice properly; ensure to measure accurately for perfect results.
- Rice Vinegar – Adds a tangy note to the rice; apple cider vinegar can work as a substitute if needed.
- Sugar – Balances the flavors in seasoned rice; honey can also be used for a touch of sweetness.
- Salt – Enhances the overall flavor of the rice; adjust according to taste preferences.
For the Sauce
- Tonkatsu Sauce – The perfect tangy dressing for your katsu; feel free to use store-bought or make your own for authenticity.
- Soy Sauce – Provides rich umami to the sauce; tamari is a great gluten-free alternative.
- Worcestershire Sauce – Adds depth to the sauce; omit if unavailable, but the flavor will be less complex.
- Ketchup – For sweetness in the sauce; adjust according to your personal taste, or try tomato paste for a different twist.
Toppings
- Shredded Cabbage – Adds freshness and crunch on top; optional but contributes to the overall texture.
- Green Onions – For a splash of color and brightness; chives can be used as a substitute.
- Sesame Seeds – Enhances visual appeal and adds nuttiness; easily omitted if you prefer.
- Pickled Ginger (optional) – A zesty side that brings acidity to balance the richness of the dish.
The ingredients for these delightful Japanese Katsu Bowls make it easy to create a satisfying meal that everyone will love!
How to Make Japanese Katsu Bowls
-
Prepare the Rice:
Rinse 2 cups of Japanese short-grain rice until the water runs clear to remove excess starch. Soak in 2.5 cups of water for 30 minutes. Bring to a boil, then reduce heat and simmer covered for 15 minutes. Let sit covered for another 10 minutes before folding in the rice vinegar mixture. -
Prepare the Katsu:
Pound chicken between plastic wrap to an even thickness of ½ inch. Season with salt and pepper. Set up a breading station with flour, beaten eggs, and panko. Coat the chicken in flour, then eggs, and finally in panko breadcrumbs. -
Fry the Katsu:
Heat ½ inch of oil in a skillet over medium heat. Fry the chicken until golden brown, about 4-5 minutes per side. Drain on paper towels and slice into strips. -
Make the Sauce:
Combine the tonkatsu sauce, soy sauce, Worcestershire sauce, and ketchup in a bowl, stirring until well mixed. -
Assemble the Bowls:
Serve the sliced katsu over a bed of rice. Top with shredded cabbage, green onions, and a sprinkle of sesame seeds. Drizzle with the prepared sauce and add pickled ginger if desired.
Optional: Serve with pickled vegetables for an added crunch.
Exact quantities are listed in the recipe card below.
Expert Tips for Japanese Katsu Bowls
-
Oil Temperature: Always test the oil’s heat before frying by adding a breadcrumb; it should sizzle. This ensures perfectly crispy katsu.
-
Breading Order: Stick to the flour, egg, and panko sequence without skipping steps. This helps the breadcrumbs adhere better for that signature crunch.
-
Don’t Overcrowd: Fry katsu in batches if necessary. Overcrowding can lower oil temperature, leading to soggy rather than crispy cutlets.
-
Rest the Rice: Allow the cooked rice to rest undisturbed under a lid to achieve fluffy grains. This step is vital for the perfect texture.
-
Balance Flavors: Adjust the amount of tonkatsu sauce based on personal taste. Sometimes a little less sauce enhances the dish without overwhelming it.
-
Experiment: Don’t hesitate to try different proteins, spices, or garnishes. Customized Japanese Katsu Bowls add a little excitement to the meal.
What to Serve with Japanese Katsu Bowls?
Creating a balanced meal goes beyond just the main dish; it’s about those delightful sidekicks that enhance every bite.
- Steamed Broccoli: Bright green and healthful, steamed broccoli adds a crunchy texture and vibrant color to your meal.
- Miso Soup: A warm bowl of miso soup accompanies katsu perfectly, adding depth with its umami flavor and warmth. A spoonful feels like a hug with every bite.
- Crispy Tempura Vegetables: Lightly battered and fried veggies offer a crispy, airy contrast that complements the richer flavors of katsu in a delightful way.
- Japanese Pickles (Tsukemono): Adding a tangy crunch, these pickles cleanse the palate and balance the richness of the dish, making each bite lighter and more refreshing.
- Simple Cucumber Salad: Tossed in a light soy-vinegar dressing, this salad adds a cool crunch and a vibrant garnish, enhancing the Japanese theme of your meal.
- Green Tea: A warm cup of green tea complements the dish beautifully, providing a calming effect while balancing the savory flavors of the katsu bowl.
- Fresh Fruit Dessert: Consider a light fruit salad of seasonal fruits like mango or strawberries to cleanse the palate and bring a sweet ending that ties the meal together.
Make Ahead Options
These Japanese Katsu Bowls are perfect for meal prep enthusiasts! You can prepare the katsu cutlets and rice up to 24 hours in advance, ensuring you have a delicious option ready for busy weeknights. Start by breading the chicken or pork cutlets and frying them, then allow them to cool before storing them in an airtight container in the refrigerator. The rice can also be cooked ahead of time; just let it cool, then refrigerate. To maintain quality, store the katsu separately from the rice to prevent sogginess. When ready to serve, simply reheat in the oven or a skillet and assemble your bowls with the toppings for a delightful homemade meal!
How to Store and Freeze Japanese Katsu Bowls
Fridge: Store leftover katsu and rice separately in airtight containers for up to 3 days to maintain texture and freshness.
Freezer: Wrap cooked katsu tightly in plastic wrap and foil, then freeze for up to 2 months. Reheat in the oven for best results, regaining that crispy finish.
Reheating: To reheat, place the katsu in the oven at 350°F (175°C) for about 10-15 minutes until heated through. Microwave is an option, but results may vary in crispiness.
Rice Storage: Keep leftover rice in the fridge for up to 5 days. To reheat, sprinkle a little water, cover, and microwave to steam, restoring moisture.
Japanese Katsu Bowls Variations & Substitutions
Feel free to add your own twist to these delightful bowls as you embark on this culinary journey!
-
Vegetarian Option: Swap chicken or pork for thick slices of eggplant or tofu for a hearty vegetarian delight.
-
Gluten-Free Swap: Use gluten-free all-purpose flour and panko breadcrumbs to enjoy katsu without the gluten but with all the crunch.
-
Crispy Shallots: Enhance the flavor and texture by adding crispy shallots as a topping, lending a sweet and savory crunch.
-
Soy-Free Version: Use coconut aminos in place of soy sauce for a soy-free alternative that maintains depth in flavor.
-
Spicy Kick: Add a teaspoon of sriracha or chili paste to your tonkatsu sauce for a zesty heat that elevates your dish.
-
Zesty Lime: Squeeze fresh lime juice over the assembled bowl to brighten the flavors and add a refreshing twist.
-
Nutty Sesame: Incorporate crushed peanuts or a sprinkle of toasted sesame seeds on top for an extra layer of nutty flavor and crunch.
-
Fusion Fun: Experiment with different sauces, such as garlic aioli or a tangy BBQ sauce, for a fun fusion experience that’s uniquely yours.
Japanese Katsu Bowls Recipe FAQs
What kind of meat is best for katsu?
Absolutely! Boneless chicken breasts or pork loin are traditional choices for katsu. They provide juicy flavor and a wonderful texture. If you prefer a vegetarian option, tofu or eggplant works beautifully as well!
How should I store leftover katsu and rice?
Very easy! Store the leftover katsu and rice separately in airtight containers in the fridge. They can last for up to 3 days. This helps maintain the crispiness of the katsu while keeping the rice fresh.
Can I freeze cooked katsu?
Of course! For freezing, wrap your cooked katsu tightly in plastic wrap and then in aluminum foil to prevent freezer burn. You can keep it in the freezer for up to 2 months. When you’re ready to enjoy it again, reheat in the oven at 350°F (175°C) for about 10-15 minutes until it’s heated through and crispy again.
What should I do if my katsu is soggy after frying?
No worries! If your katsu turns out soggy, it’s often due to overcrowding the pan or incorrect oil temperature. Always fry in batches and make sure your oil is hot enough; test it with a breadcrumb – it should sizzle immediately. If it’s already soggy, you can try reheating it in an oven to restore some crispiness.
Can I use rice other than Japanese short-grain for the bowls?
Absolutely! While Japanese short-grain rice is preferred for its chewy texture, jasmine or basmati rice can also work beautifully as a substitute. Just rinse and cook them according to package instructions for the best results.
Is there a gluten-free alternative for the flour and breadcrumbs?
Yes! You can use gluten-free all-purpose flour and panko breadcrumbs. Many brands offer excellent gluten-free options that will still give you that delightful crunch we love in katsu!
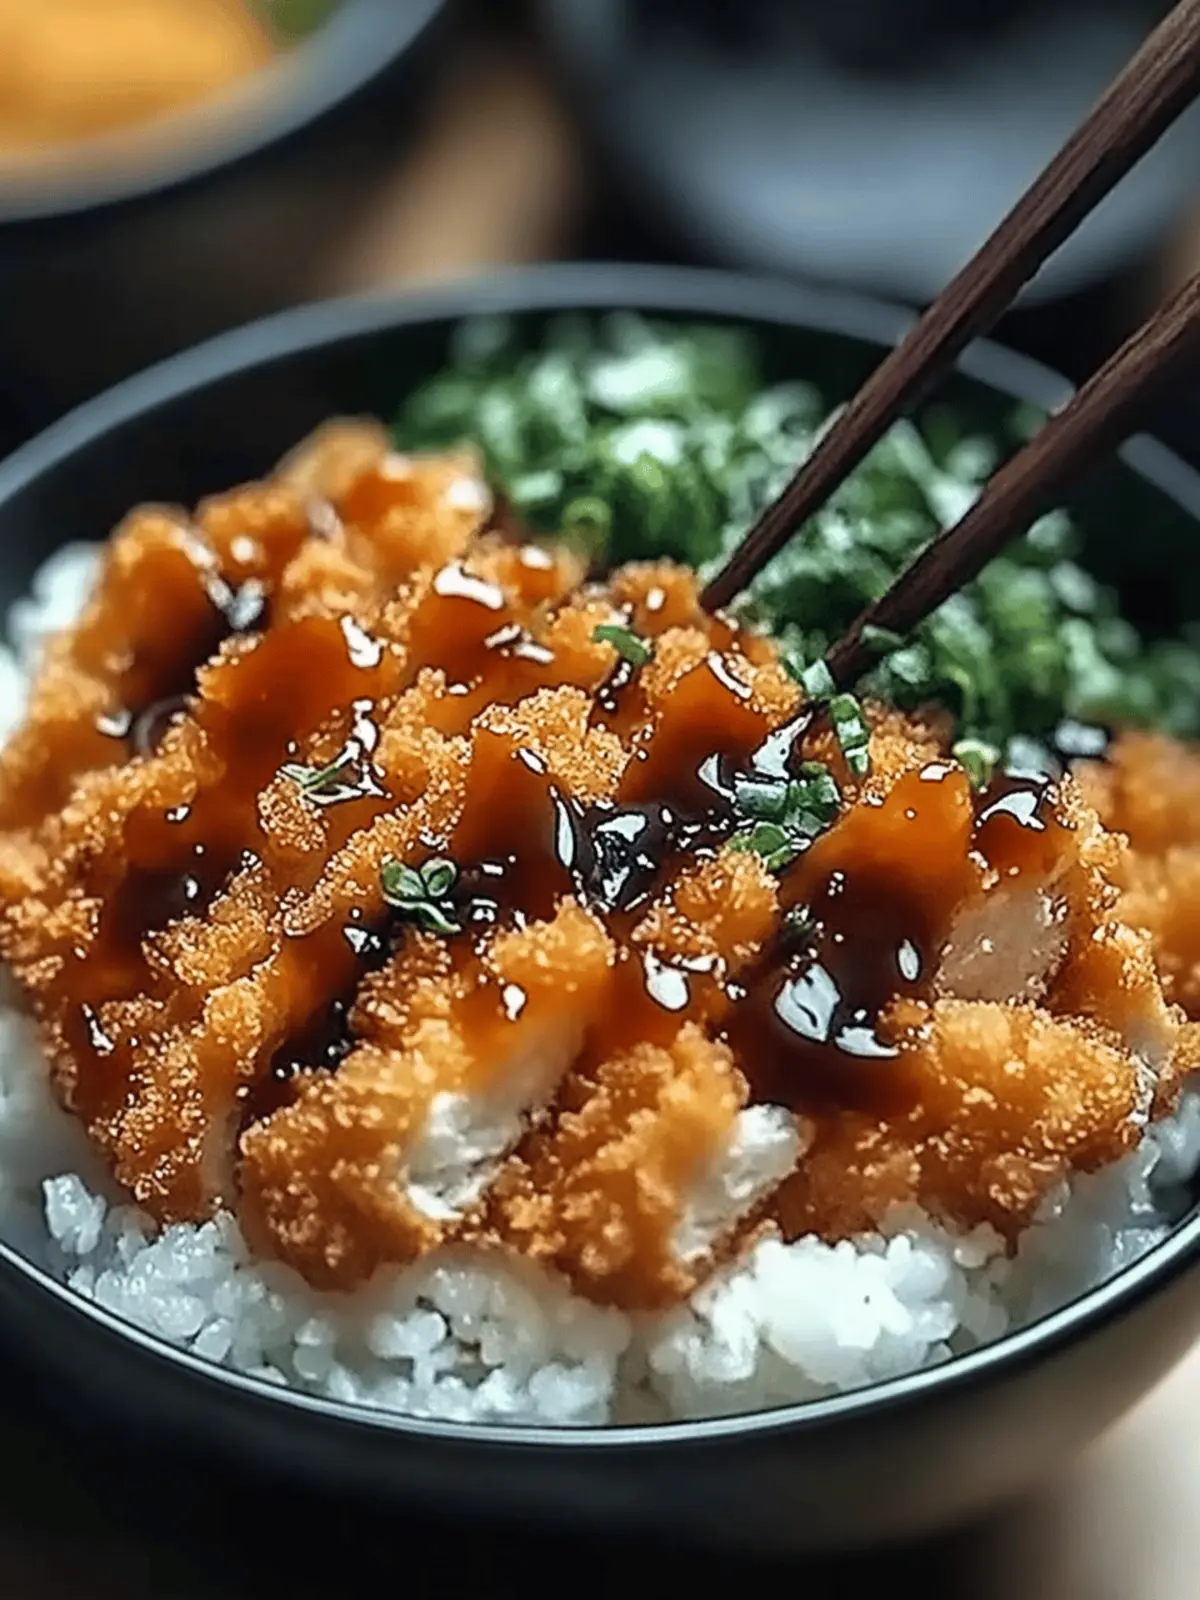
Japanese Katsu Bowls: Your Easy Guide to Authentic Comfort Cooking
Ingredients
Equipment
Method
- Rinse the Japanese short-grain rice until the water runs clear and soak in water for 30 minutes. Then bring to a boil and simmer covered for 15 minutes. Let sit for another 10 minutes before adding rice vinegar.
- Pound chicken to an even thickness of ½ inch. Season with salt and pepper. Set up a breading station with flour, beaten eggs, and panko. Coat the chicken in flour, then eggs, and finally in panko.
- Heat oil in a skillet over medium heat. Fry the chicken until golden brown, about 4-5 minutes per side. Drain and slice into strips.
- Combine tonkatsu sauce, soy sauce, Worcestershire sauce, and ketchup in a bowl, stirring until well mixed.
- Serve sliced katsu over rice, topped with cabbage, green onions, sesame seeds, and drizzled with sauce. Add pickled ginger if desired.
