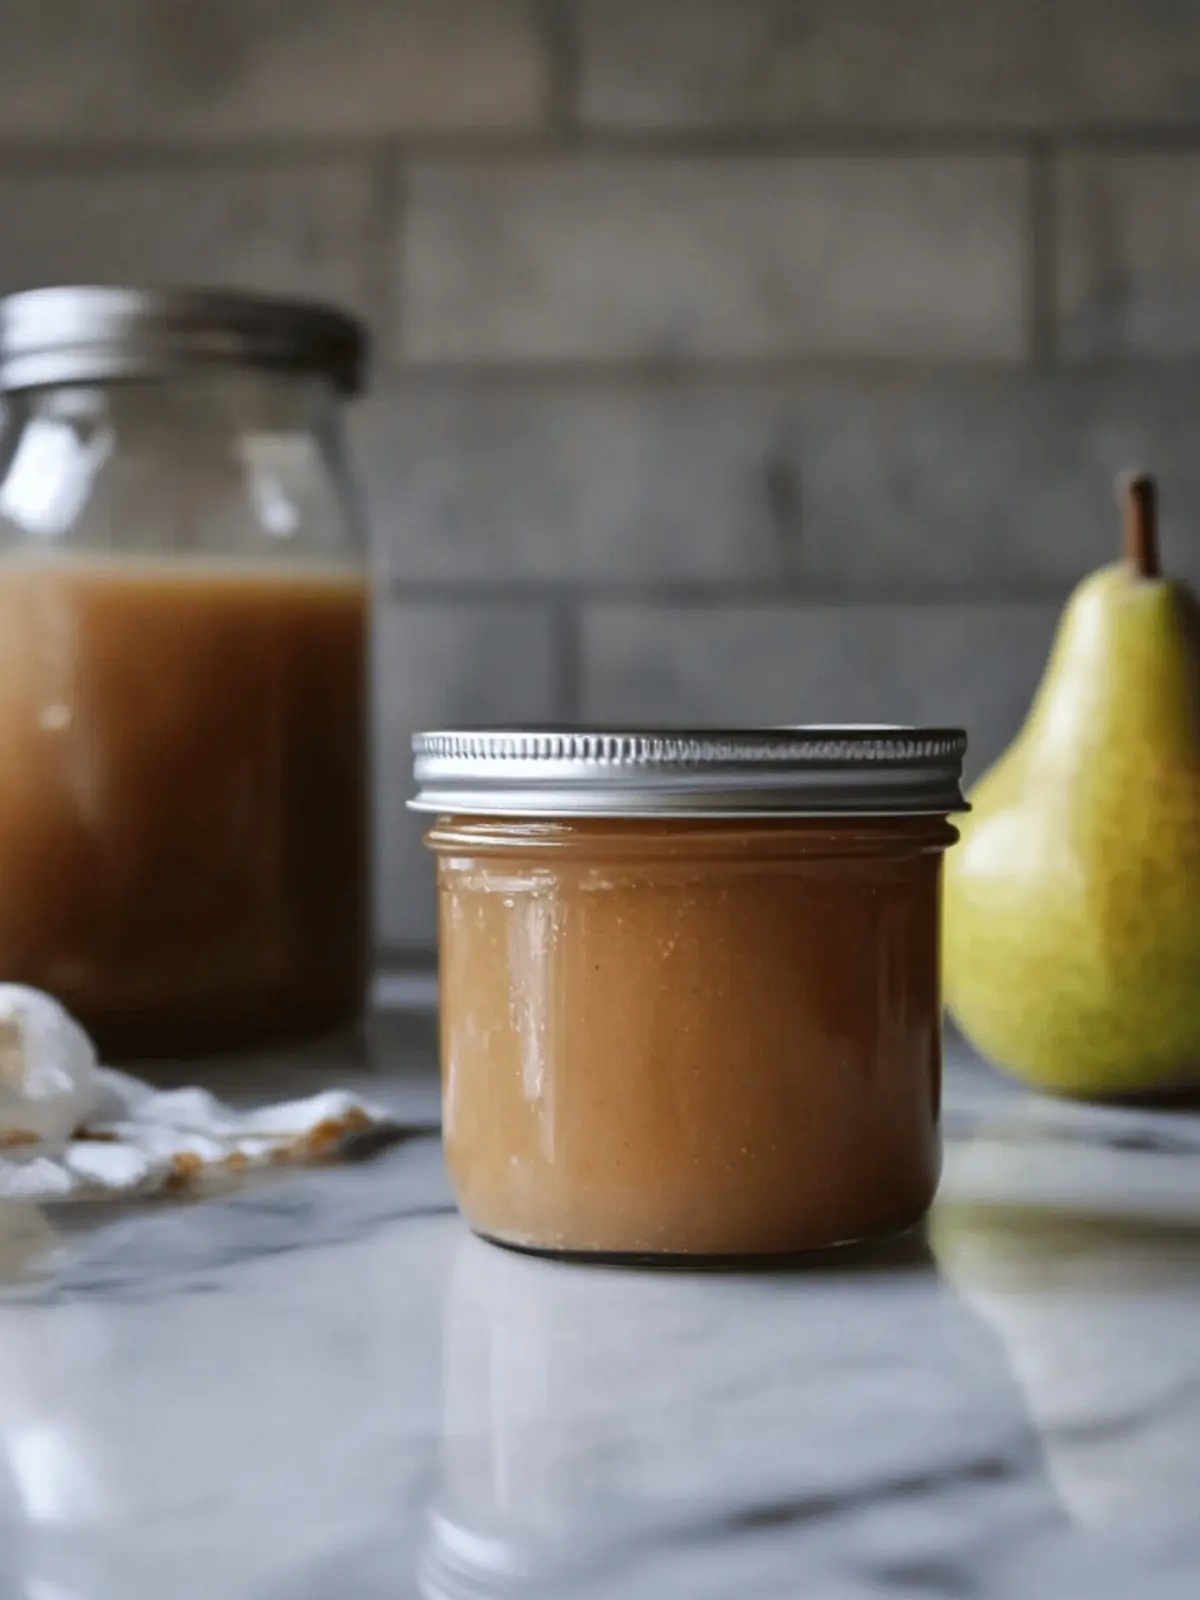
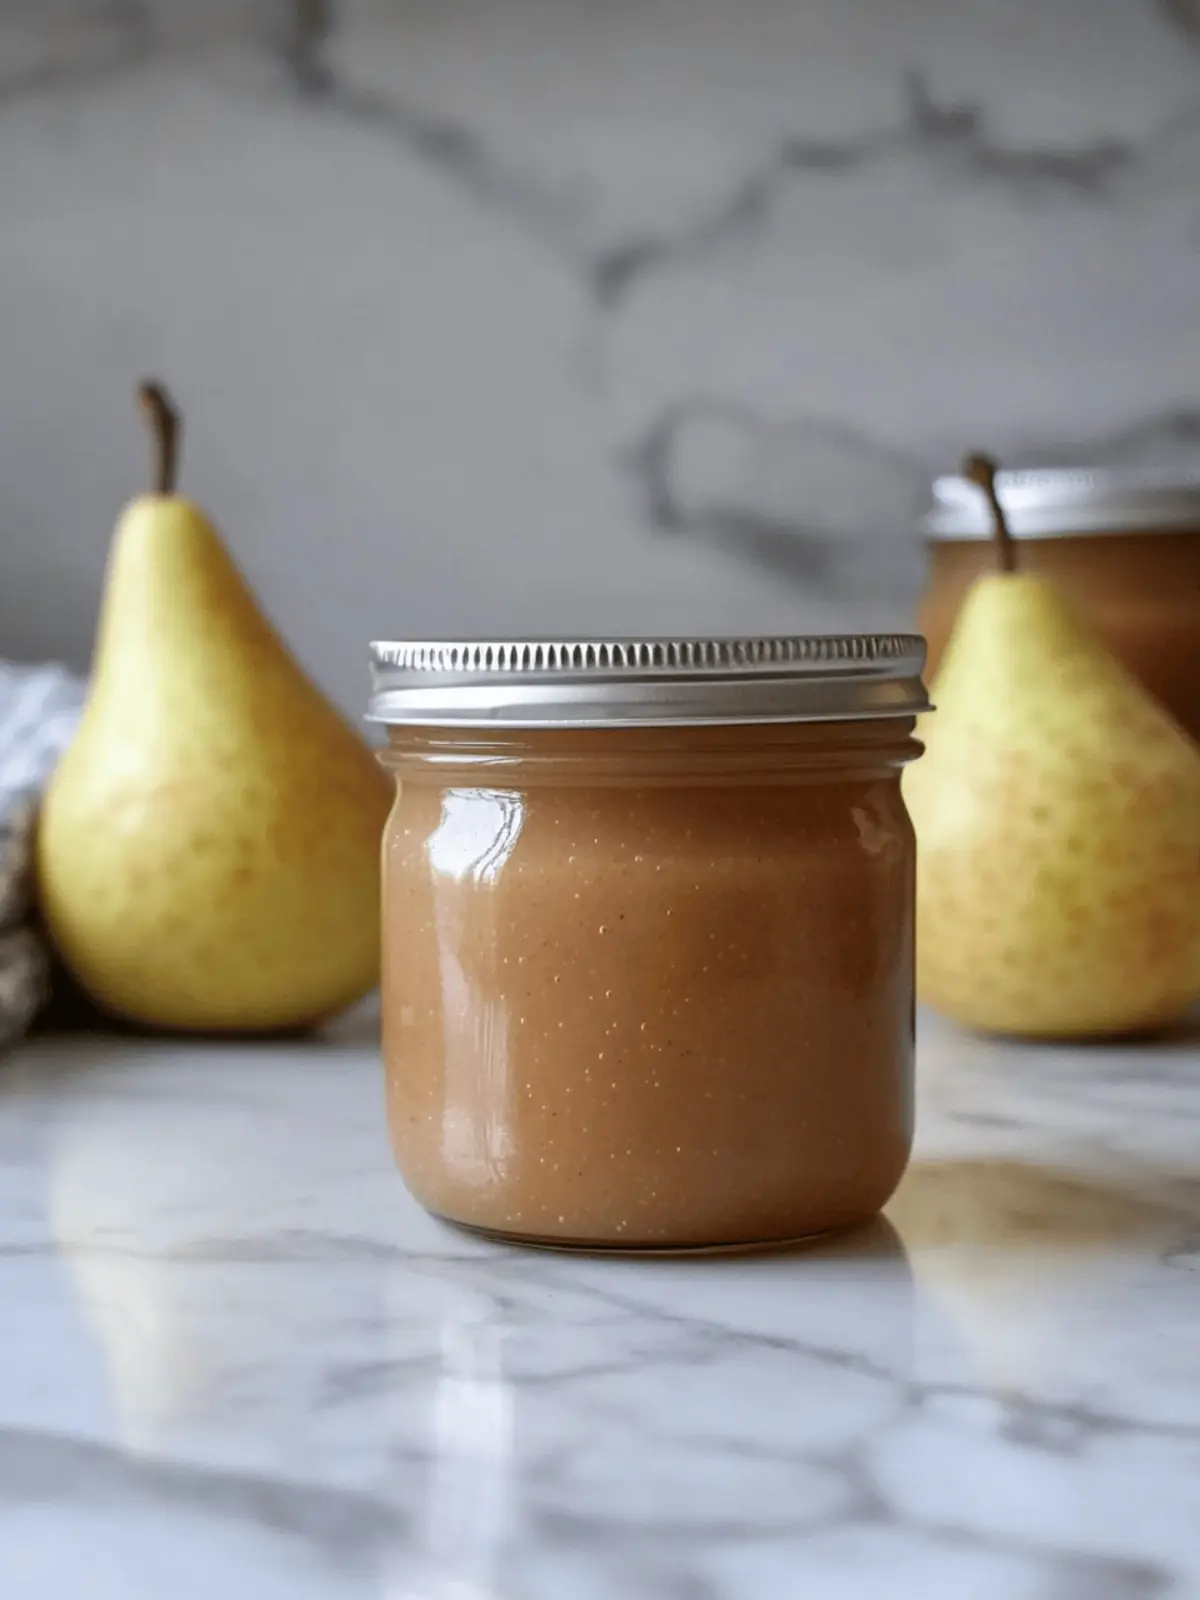
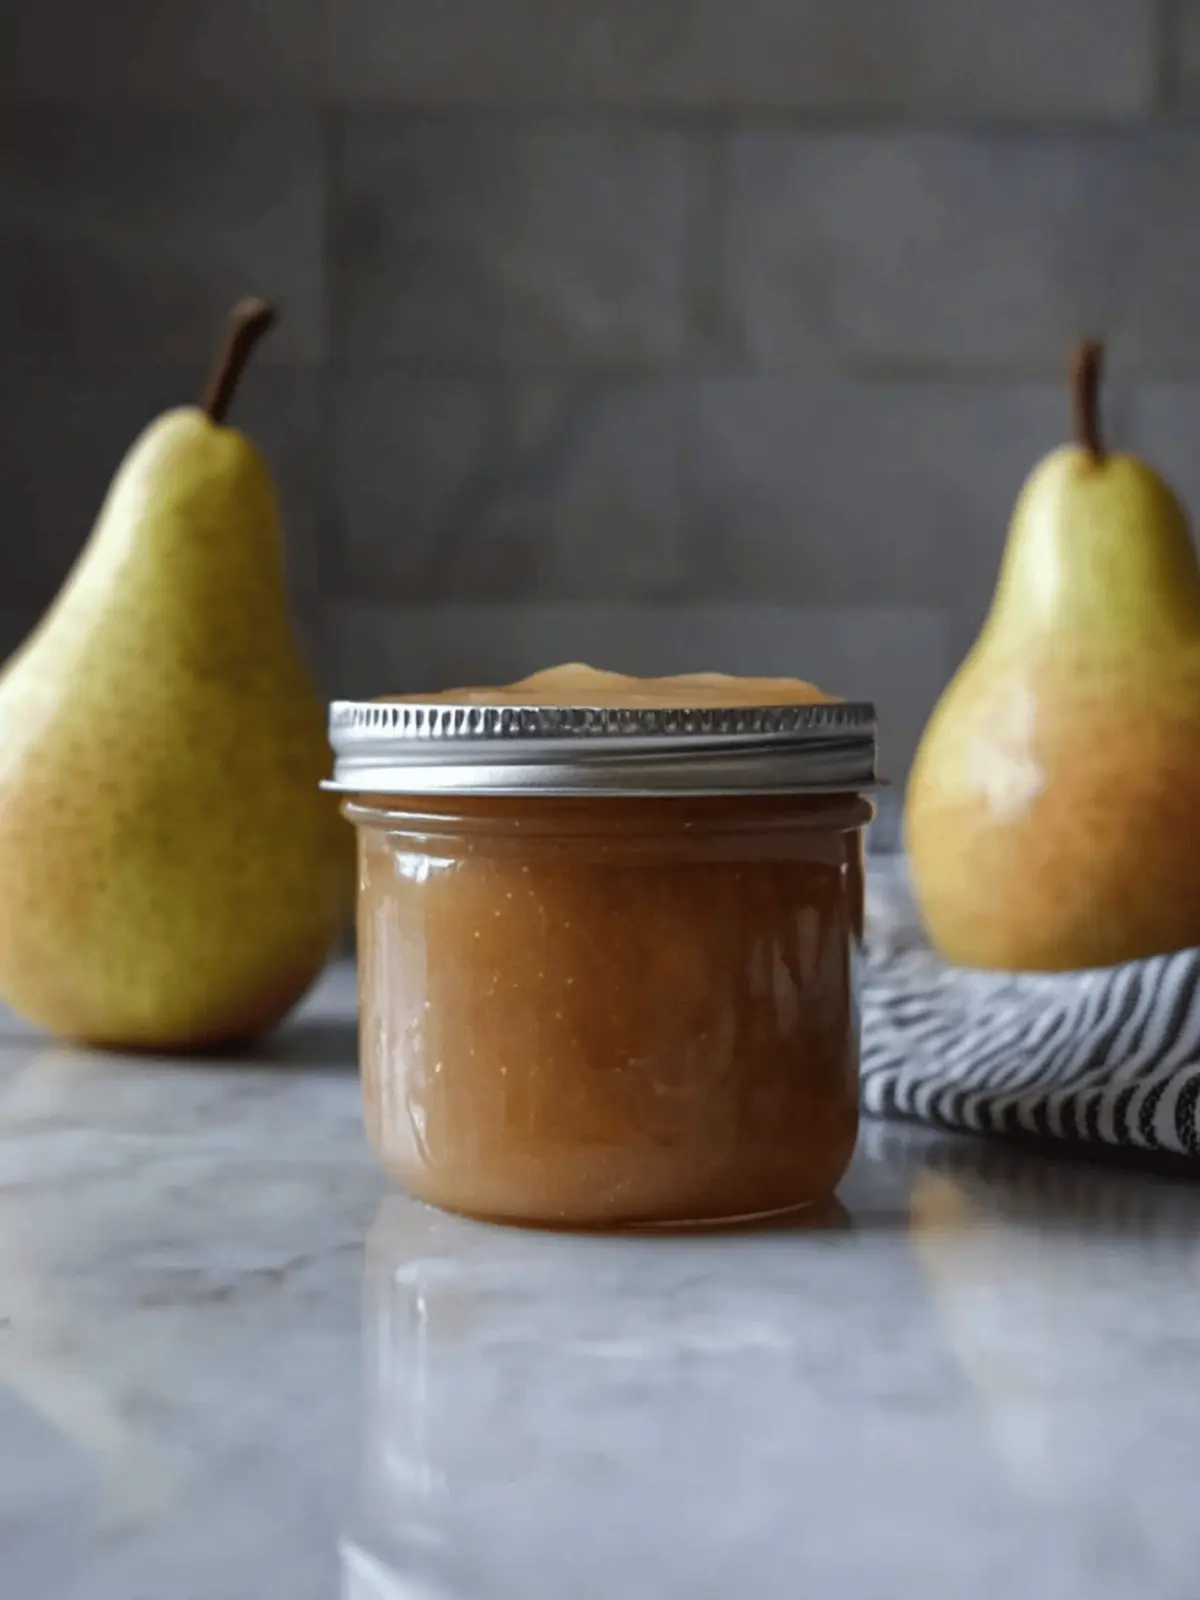
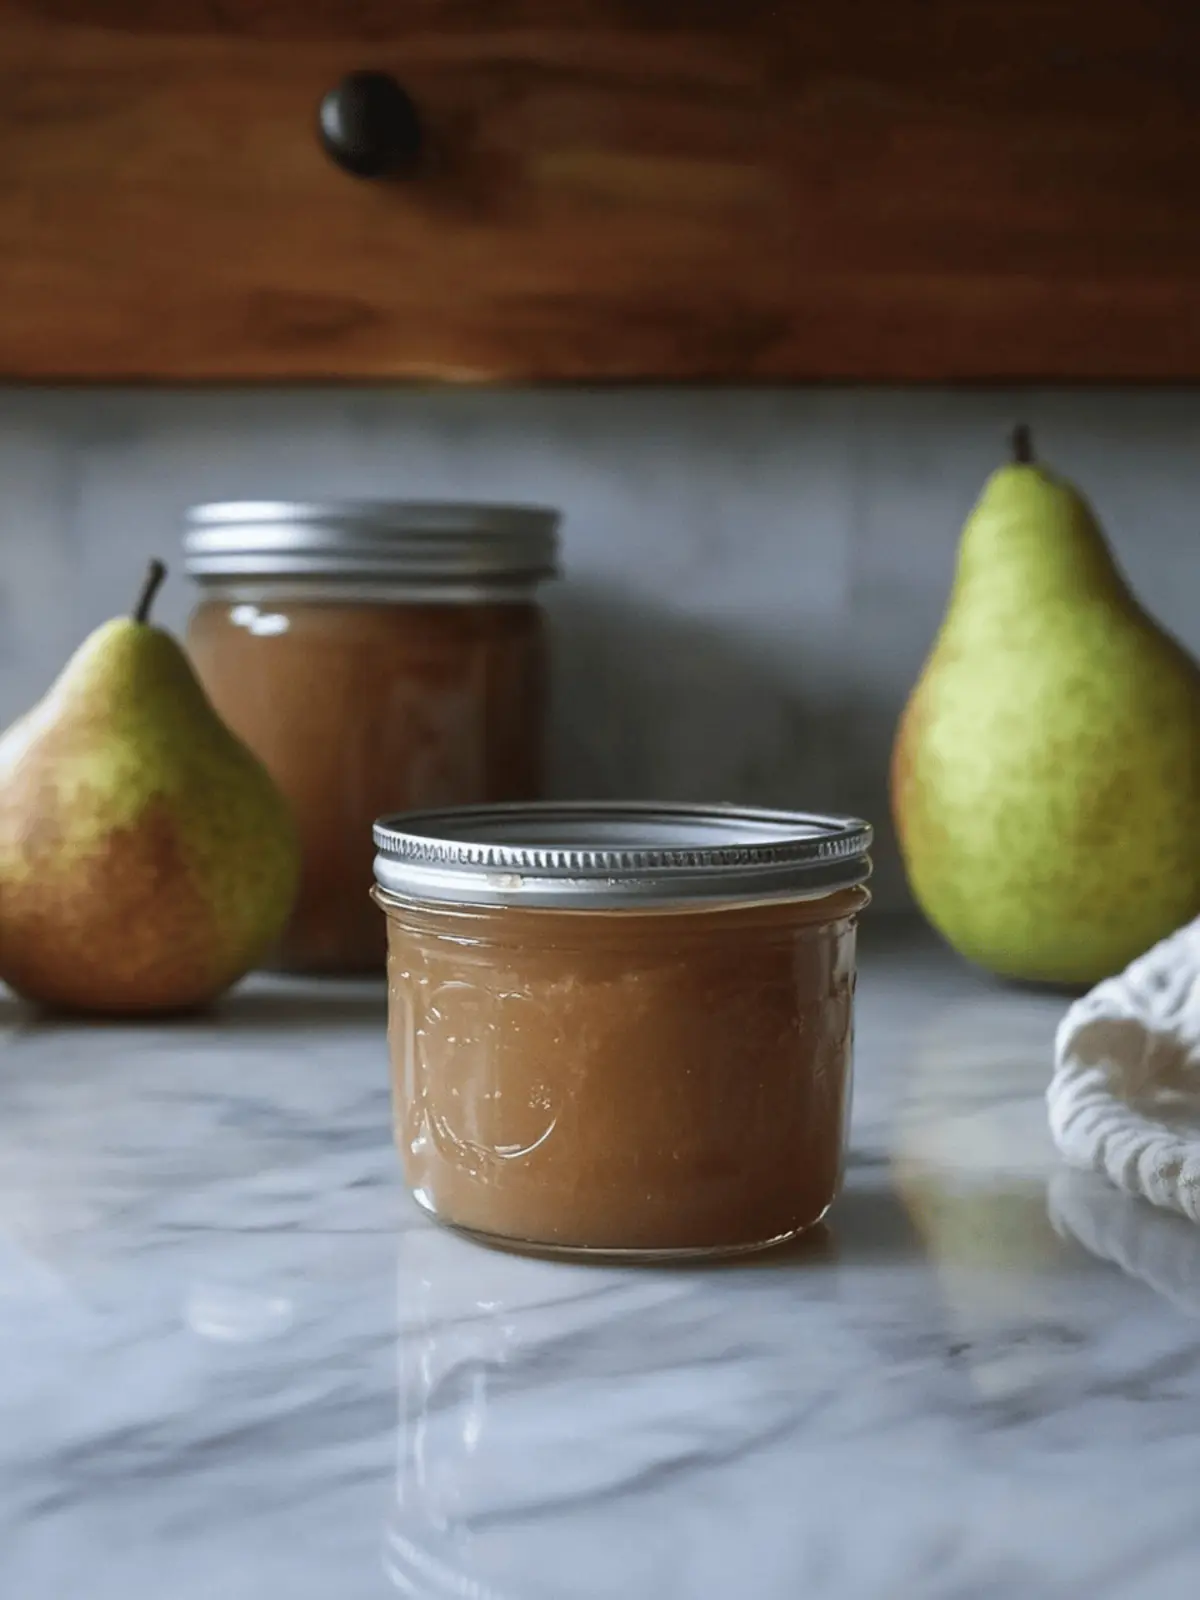
As the leaves begin to turn golden and the crisp air signals the arrival of fall, I find myself in the kitchen, eager to capture this season’s bounty. One of my favorite treasures is pear butter—a delightful twist on the classic apple butter that fills my home with comforting aromas. The first taste is pure bliss: smooth, sweet, and perfectly spiced. After a long week of fast food and mundane meals, blending these ripe pears into a luxurious spread feels like a special treat, both for myself and anyone fortunate enough to share it.
This easy homemade pear butter recipe is incredibly rewarding, making it accessible even for those new to canning. Using just a handful of ingredients, you can create rich, buttery goodness that elevates everything from morning toast to holiday desserts. Plus, once you’ve mastered this basic recipe, the possibilities for flavor variations are endless. Join me in celebrating the sweet essence of fall and the joy of preserving nature’s gifts with a jar of this delicious pear butter!
Why is Pear Butter So Irresistible?
Experience pure autumn bliss as you craft your own pear butter, where simplicity meets incredible flavor. This recipe turns seasonal fruit into a velvety spread with minimal fuss, perfect for both beginners and seasoned canners. Versatile pairing options abound—from breakfast to dessert. You’ll love experimenting with sweeteners and spices for a personal touch. Time-saving and rewarding, this homemade favorite will have family and friends asking for seconds!
Ingredients for Pear Butter
For the Butter
• Pears – Use fresh, ripe pears for the best natural sweetness and avoid Asian pears for safety in canning.
• Lemon Juice – Adds a delightful tartness that enhances the flavor of the pear butter; feel free to substitute with another citrus juice if you prefer.
• Liquid of Choice – 3/4 cup to help cook down the pears; options include apple cider, cranberry juice, or plain water for a lighter taste.
• Sweetener – 1-2 cups depending on your sweetness preference; you can choose from brown sugar, white sugar, honey, maple syrup, or agave nectar to customize your pear butter.
• Seasonings – Optional but great for personalizing your recipe; consider adding vanilla, citrus zest, or warm spices like cinnamon or ginger to elevate the flavor of your pear butter.
How to Make Pear Butter
- Prepare Pears: Start by washing, peeling, and quartering the pears. Be sure to core them if you’re using a blender for a smooth finish. This step sets the foundation for a luscious butter!
- Cook Pears: In a cozy Dutch oven, combine the prepared pears with lemon juice. Simmer on medium heat until the pears become soft and fragrant, about 20-25 minutes. Keep an eye on them—it’s part of the fun!
- Blend: Once the pears are soft, it’s time to create that silky texture. Process the mixture into a smooth puree using a food mill or blender, making sure every bit of pear is beautifully incorporated.
- Sweeten & Season: Pour your luscious puree back into the pot and stir in your chosen liquid, sweetener, and any seasonings you desire. Continue to cook, stirring frequently, until the mixture thickens, which takes about 10-15 minutes at a low simmer.
- Canning: Carefully ladle the hot pear butter into sterilized jars, ensuring there’s about 1/2 inch of headspace at the top. Process the jars in a water bath for 10-15 minutes depending on your altitude. Once cooled, check all seals to ensure your delicious creation is safe and ready for storage!
Optional: Serve your pear butter with warm biscuits or as a delightful filling for pastries.
Exact quantities are listed in the recipe card below.
Expert Tips for Perfect Pear Butter
- Choose Ripe Pears: Use only ripe, high-quality pears for the best flavor; underripe pears won’t yield the creamy sweetness you desire.
- Stir Often: Once you add your sweetener, it’s crucial to stir frequently to prevent sticking or scorching. Keep an eye on your pot!
- Taste as You Go: Don’t hesitate to adjust the sweetener or spices based on your preference while cooking your pear butter.
- Seal Properly: Check jar seals after canning; any unsealed jars should be refrigerated immediately to avoid spoilage.
- Experiment: Try different sweeteners and spices to create your unique pear butter flavor, ensuring every jar is a delightful surprise!
Make Ahead Options
These pear butter preparations are a fantastic way to save time for busy home cooks! You can prep the pears (washing, peeling, and quartering) up to 24 hours in advance; simply store them in an airtight container with a sprinkle of lemon juice to prevent browning. Additionally, the pureed mixture can be cooked and cooled, then stored in the refrigerator for up to 3 days before finishing the recipe. To maintain quality, ensure it’s in a sealed container to keep it fresh. When you’re ready to finalize your pear butter, just heat the puree, stir in your sweetener and spices, and follow the canning steps—resulting in delicious, homemade goodness with minimal effort!
Pear Butter Variations
Feel free to let your creativity take the lead and customize your pear butter to match your taste preferences!
- Sweetener Swap: Try using honey or maple syrup instead of sugar for a natural sweetness that adds depth.
- Spiced Up: Add a dash of nutmeg or a splash of bourbon for a warm, unexpected twist in flavor. These spices can enhance the appeal, making your pear butter truly special.
- Citrus Zest: Incorporate fresh lemon or orange zest for a refreshing zing that brightens the natural sweetness of pears.
- Bourbon Essence: For an adult-only version, mix in a tablespoon of bourbon while cooking. The rich warmth pairs beautifully with the pears. Remember, everyone will be asking for this twist!
- Chunky Style: Blend only half of the pears for a chunkier texture or swirl in some chopped nuts before canning for an added crunch.
- Spicy Kick: Add a pinch of cayenne pepper or a few pieces of chopped jalapeños for a tantalizing heat that contrasts beautifully with the sweet butter.
- Seasonal Twist: Try adding pumpkin spice or ginger for a seasonal flair that resonates with chilly autumn breezes.
- Liquid Variety: Swap the cooking liquid for cider or even a fruity tea, lending a unique flavor profile that transforms your pear butter like never before.
Now that you know the possibilities, get cooking and make your pear butter uniquely yours!
How to Store and Freeze Pear Butter
- Room Temperature: Unopened jars of pear butter can be stored in a cool, dry place away from light for up to 18 months. This preserves their delicious flavor and texture.
- Fridge: Once opened, keep pear butter in the refrigerator and consume it within 3 weeks for the best taste and quality. Always use a clean spoon to prevent contamination.
- Freezer: For longer storage, pear butter can be frozen in airtight containers for up to 6 months. Just be sure to leave some headspace, as it will expand while freezing.
- Reheating: To enjoy your pear butter from the fridge or freezer, simply spoon out a portion and let it warm at room temperature or microwave for a few seconds until spreadable, allowing that sweet aroma to fill your kitchen!
What to Serve with Pear Butter?
As you embark on your pear butter journey, imagine all the delightful dishes this luscious spread can enhance!
- Whole Grain Toast: The nuttiness of whole grain bread pairs beautifully with the sweet creaminess of pear butter, creating a wholesome breakfast experience.
- Gingerbread Cookies: The spicy warmth of gingerbread melds harmoniously with the sweet notes of pear butter, making it a perfect holiday match.
- Oatmeal: Swirl some pear butter into your morning oatmeal for a burst of flavor and a natural sweetener that feels indulgent yet wholesome.
- Cheese Platter: Serve pear butter alongside soft cheeses like brie or goat cheese for a delightful contrast of flavors—think creamy, sweet, and savory all at once!
- Pancakes or Waffles: Drizzle over pancakes or waffles for a cozy, fall-inspired breakfast that’ll keep everyone coming back for seconds.
- Pork Tenderloin: Elevate savory dishes by using pear butter as a glaze—its sweetness pairs perfectly with the rich flavors of roasted meats.
- Vanilla Ice Cream: For a simple yet elegant dessert, spoon warm pear butter over vanilla ice cream for a hot-and-cold treat that embodies fall.
- Yogurt Parfait: Layer pear butter with yogurt and granola for a delicious and satisfying breakfast or snack that feels oh-so-festive.
- Tea: For a cozy drink, pair your favorite herbal tea with pear butter spread on biscuits for a warm afternoon treat that wraps you in comfort.
- Spiced Cakes: Use pear butter as a filling or frosting alternative for spiced cakes, creating layers of flavor that sing sweetly with every bite!
Pear Butter Recipe FAQs
What type of pears should I use for making pear butter?
Absolutely! For the best flavor, select fresh, ripe pears such as Bartlett or Bosc that are fragrant and slightly soft to the touch. Avoid using Asian pears, as they have a different texture and may not yield the creamy result you’re looking for in canning.
How should I store my pear butter after canning?
Once you’ve canned your pear butter, store the sealed jars in a cool, dry place, ideally away from direct sunlight. They can last for up to 18 months in this environment without losing their delightful flavor. If you have any opened jars, pop them in the refrigerator and consume within 3 weeks for optimal freshness!
Can I freeze pear butter, and if so, how?
Yes, very! Freezing pear butter is a fantastic option for long-term storage. Simply transfer your cooled pear butter into airtight containers or freezer-safe jars, ensuring you leave about 1 inch of headspace to allow for expansion as it freezes. This way, you can enjoy your homemade treat for up to 6 months!
What should I do if my pear butter turns out too thin?
If your pear butter is too thin, don’t worry! To thicken it, return the mixture to the stovetop, and cook it down on low heat, stirring frequently. This can take an additional 10-20 minutes, but keep an eye on it to avoid scorching. You can also mix in a bit of cornstarch slurry (1 tablespoon cornstarch combined with 1 tablespoon of cold water) if you’re in a hurry, which will thicken it quickly without changing the flavor.
Is pear butter safe for pets?
Very! While pear butter in small amounts can be safe for dogs and cats, it’s essential to make sure there are no added ingredients that could harm your pets, such as certain sweeteners or spices. Always check with your veterinarian if you’re unsure about sharing any human food with your furry friends.
Can I adjust the sweetness of my pear butter?
Absolutely! Feel free to customize the sweetness of your pear butter to suit your taste. Start with the lower end of recommended sweeteners and taste as you go. You might find you enjoy the natural sweetness of the pears enhanced just a little, or you may prefer it sweeter—it’s all about your preference!

Craft Your Dream Pear Butter: Easy Recipe for Fall Bliss
Ingredients
Equipment
Method
- Prepare Pears: Wash, peel, and quarter the pears, coring them if using a blender.
- Cook Pears: In a Dutch oven, combine pears and lemon juice, simmer on medium until soft, about 20-25 minutes.
- Blend: Process the mixture into a smooth puree using a food mill or blender.
- Sweeten & Season: Return puree to pot, stir in liquid, sweetener, and any seasonings, cooking until thickened, about 10-15 minutes.
- Canning: Ladle hot pear butter into sterilized jars, process in a water bath for 10-15 minutes.


